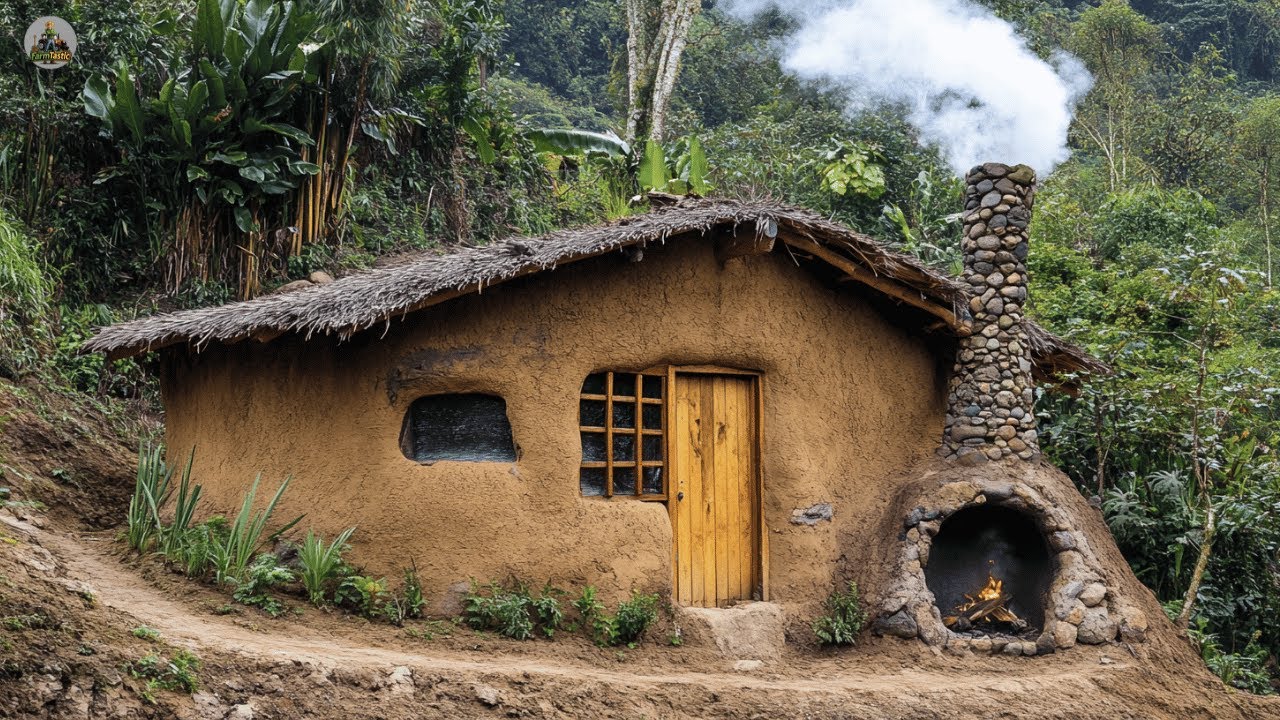
In an off-grid or bug-out location (BOL), being able to build and repair structures with natural and locally-sourced materials is an essential skill. One of the most versatile building materials available to preppers is masonry mud — a mix of earth, clay, sand, and water that can be used for everything from bricklaying to plastering.
In this article, we’ll explore how to make masonry mud using simple ingredients, its common uses in off-grid construction, and step-by-step instructions for mixing and applying it.
What is Masonry Mud?
Masonry mud, also known as mortar or “mud mortar,” is a binding agent used to hold stones, bricks, or blocks together in a stable structure. Unlike modern Portland cement-based mortars, traditional masonry mud can be made entirely from natural, sustainable materials — a big plus when operating off-grid or in a long-term grid-down scenario.

A good masonry mud mix generally contains:
- Clay: acts as the binder.
- Sand: provides body and prevents cracking.
- Water: activates the clay and allows workability.
- Optional additives: straw, fiber, or lime for added strength and flexibility.
Common Uses for Masonry Mud in a Prepper Bug-Out Location
Masonry mud has countless practical applications in building and maintaining an off-grid retreat:
1. Building Walls
- Stack stone, brick, or adobe blocks with mud mortar to create insulated and durable walls.
- Suitable for outbuildings, storage rooms, root cellars, perimeter walls, and shelters.
2. Plastering/Parge Coats
- Apply a smooth or rough plaster coat to walls for protection from weather, rodents, and insects.
- Acts as an air and moisture barrier when used with lime or waterproof additives.
3. Stove and Chimney Construction
- Essential for sealing joints in wood-fired stoves, rocket mass heaters, or DIY chimneys.
- High clay content mud is ideal for withstanding heat.
4. Flooring
- When packed and sealed properly, masonry mud can create a rustic, durable earthen floor.
5. Roofing and Insulation
- Mixed with straw and applied on flat roofs or under tiles for added insulation.
Step-by-Step Instructions: How to Make Masonry Mud
Step 1: Gather Materials
Clay Source:
- Dig from a creek bed, subsoil pit, or bank. Pure clay is too sticky; a natural clay-sand blend works best. Test first.
Sand:
- Coarse, sharp sand (not beach sand) works well.
- Helps prevent cracking.
Water:
- Clean, potable water.
Optional Additives:
- Straw, animal hair, chopped grass: for tensile strength.
- Lime: increases water resistance.
Step 2: Test Your Soil
You need to test whether your local clay-rich soil is suitable:
- Place soil in a jar with water, shake vigorously.
- Let it settle overnight.
- Layers will form: clay on top, silt in middle, sand on bottom.
- Ideal ratio is about 20-30% clay, 50-60% sand, remainder silt.
- If too much clay → add sand. If too much sand → add more clay.
Step 3: Mix the Mud
Traditional Mixing Method:
- On a large tarp or mixing area, add clay and sand in a 1:2 or 1:3 ratio (adjust based on your soil test).
- Add water slowly while mixing with your hands, feet, or hoe.
- The mix should be thick but pliable — similar to stiff bread dough.
- If using straw or fiber, mix in after initial water addition.
Step 4: Test the Mix
Before building with the mud:
- Form small test bricks and let them dry.
- Observe for cracking, crumbling, or weakness.
- Adjust ratio as needed: more sand reduces cracks; more clay increases stickiness and strength.
Application Tips
For Brick/Stone Laying:
- Apply a ½” to 1” thick layer of mud between bricks or stones.
- Press firmly and wiggle slightly to bond.
- Scrape off excess.
- Allow adequate drying time between layers to prevent sagging.
For Plastering Walls:
- Wet the wall first (especially if stone or wood).
- Apply in thin coats — thick coats are prone to cracking.
- Let each layer dry before adding the next.
For Stove or Chimney Work:
- Use high-clay content mud.
- Apply tightly into gaps; smooth joints.
- Allow slow drying — too rapid will cause cracks.
Maintenance and Longevity
- Masonry mud structures are breathable, meaning they allow moisture to pass, reducing trapped condensation.
- They require occasional maintenance — cracks can be patched with fresh mud.
- Adding lime or using an outer limewash coat can dramatically improve weather resistance.
- Regular inspection is key, especially after heavy rain or freeze/thaw cycles.
Final Thoughts
Knowing how to make and use masonry mud is an invaluable skill for any prepper looking to create a sustainable, repairable, and self-reliant bug-out location. Whether you’re building walls, sealing a stove, or plastering a storage building, this ancient technique remains as relevant today as it was thousands of years ago.
With just clay, sand, and water — and a little trial and error — you can produce a versatile building material that helps your off-grid retreat stand the test of time.