
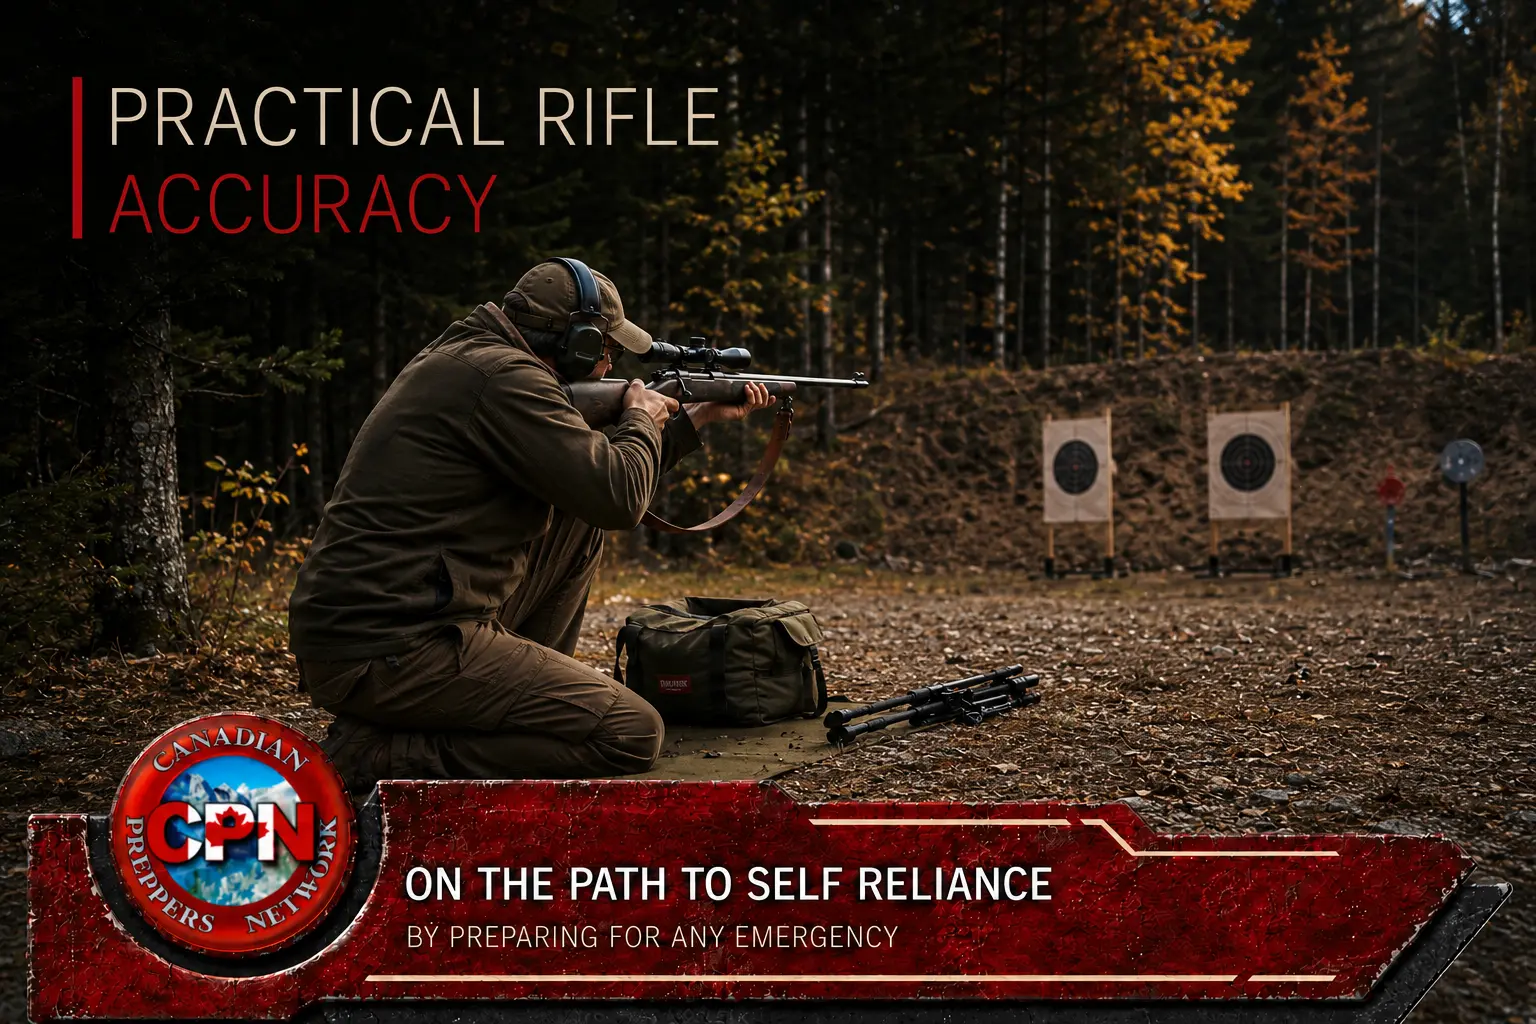
Building repeatable hits from real shooting positions
Accurate rifle shooting is sometimes treated as though it depends upon exceptionally steady hands, expensive equipment or a natural talent that some people possess and others do not.
In reality, accuracy is largely the product of repeatable decisions. The shooter builds a stable position, aligns the body and rifle with the target, applies pressure to the trigger without disrupting that alignment, and remains in position until the shot is complete.
Those principles apply across ordinary sporting and hunting rifles. The recoil, sights, stock design and intended distance may change, but the underlying task remains the same.
Modern Civilian Marksmanship Program instruction organizes the fundamentals into three connected requirements:
- Stability: holding the rifle with as little unnecessary movement as possible;
- Alignment: naturally directing the rifle and sights toward the target; and
- Control: releasing and following through on the shot without disrupting the first two.
This is more useful than memorizing a list of isolated techniques. Breathing, trigger control, cheek placement and follow-through all serve the larger purpose of making one accurately delivered shot resemble the next.
Accuracy Begins Before the Rifle Is Loaded
A shooter should begin by confirming that the rifle is mechanically sound and properly fitted for the task.
Loose action screws, scope mounts or sight components can produce wandering groups that no amount of concentration will correct. An inappropriate length of pull or poorly positioned scope can force the head, neck and shoulder into an inconsistent position.
Before firing, inspect the rifle according to the manufacturer’s instructions and verify that:
- the bore is unobstructed;
- the action operates correctly;
- the sights and mounting hardware are secure;
- the ammunition is the correct type for the firearm;
- the stock and optic allow a comfortable, repeatable position; and
- eye and hearing protection are properly fitted.
A firearm should be handled only on an approved range or other lawful shooting area, following all posted rules and range commands. Keep the muzzle directed safely, keep the action open when required and keep the finger outside the trigger guard until the rifle is directed at the target and the decision to fire has been made.
Stability Does Not Mean Perfect Stillness
No living shooter holds a rifle completely motionless. Breathing, heartbeat, muscle tension and balance create movement even in a carefully constructed position.
The goal is not to eliminate all movement. It is to reduce unnecessary movement, make the remaining movement predictable and release the shot without adding a sudden disturbance.
Beginners often attempt to steady the sights by contracting more muscles. The rifle may appear steadier for a moment, but muscular effort quickly creates fatigue, tremors and inconsistent pressure.
A stronger position transfers as much of the rifle’s weight as practical through bones, joints, the ground and lawful supports. Muscles remain involved, but they should not be doing work that the body’s structure or an available support can perform more consistently.
Find the Natural Point of Aim
Natural point of aim is the direction in which the rifle settles when the shooter is properly positioned and unnecessary muscular effort has been relaxed.
If the sights naturally settle beside the target, dragging them into the centre with the arms creates tension. As that tension changes during the shot, the rifle tends to return toward its natural position.
To check natural point of aim from a stable position:
- Build the position and align the sights with the target.
- Settle the rifle into the shoulder and establish a normal cheek position.
- Relax without allowing the muzzle to leave a safe direction.
- Close the eyes briefly, breathe normally and let the position settle.
- Open the eyes and observe where the sights now rest.
If the sights have moved away from the desired point, reposition the body or adjust the support. Do not merely twist the rifle back with the arms.
In prone, this may require shifting the entire body. In sitting or kneeling, it may mean changing the angle of the hips, feet or supporting leg. When using a bipod or shooting bag, move the whole rifle-and-support system until it points naturally at the target.
The U.S. Army Marksmanship Unit emphasizes that the non-firing hand and the position should bring the rifle to its natural point of aim. The shooter should not use the support arm to force the muzzle into place.
Build a Repeatable Connection to the Rifle
Accuracy depends on how consistently the shooter and rifle behave together.
The butt should contact the shoulder in the same location for every shot. The cheek should settle onto the stock with similar pressure, and the firing hand should grip firmly enough to control the rifle without creating unnecessary sideways tension.
With a telescopic sight, the head should remain far enough from the ocular lens to provide safe eye relief under recoil. The view through the scope should appear full and centred, without dark crescents around the image.
Moving the head until the reticle reaches the target is not a substitute for correcting the position. The head and eye should return naturally to the same place behind the sight.
Consistency becomes increasingly important as recoil rises. Changes in shoulder pressure, cheek pressure, sling tension or support pressure can change how the rifle moves during firing and may shift the point of impact.
Support Canadian Preparedness
Visit the CPN Merchandise Shop
Shop CPN-branded apparel, caps, preparedness books and other merchandise while helping support the continued growth of Canadian Preppers Network.
Use the Clearest Possible Sight Picture
With iron sights, proper sight alignment describes the relationship between the front and rear sights. Sight picture describes where those aligned sights appear in relation to the target.
The eye cannot maintain sharp focus on the rear sight, front sight and target simultaneously. With conventional iron sights, visual attention normally belongs on the front sight while the target appears slightly less distinct.
With a telescopic sight, establish consistent eye position and place the reticle on the intended aiming point. Magnification should be high enough to identify the target clearly but not so high that the reduced field of view, visible movement or unstable image interferes with the shot.
Parallax can create an apparent movement of the reticle when the eye shifts behind the scope. If the optic provides a parallax adjustment, set it for the distance according to the manufacturer’s instructions. Consistent cheek placement remains important even when the adjustment is correct.
Optics cannot correct an unstable position. Greater magnification often makes existing movement more visible; it does not necessarily make the rifle steadier.
Breathing Creates the Firing Pause
Breathing moves the chest, shoulders and rifle. Trying to fight that movement while continuing to breathe normally makes a precise shot difficult.
A common technique is to breathe normally, exhale naturally and use the short respiratory pause before the next breath. The shot should be released during a comfortable portion of that pause.
This is not a contest to see how long the shooter can hold their breath. An extended hold creates tension, deteriorating vision and an increasing urge to rush the shot.
If the sights are not acceptably aligned within the comfortable pause, remove pressure from the trigger, breathe again and restart the sequence. Forcing a poor shot because the breath has nearly run out rewards impatience rather than accuracy.
Trigger Control Must Preserve Alignment
The trigger should be pressed in a manner that does not pull the rifle sideways or disturb the sight picture.
Place the trigger finger so it can move independently without excessive contact between the finger and the stock. The exact placement depends upon hand size, stock geometry and trigger design, but the pressure should generally travel straight to the rear.
Take up any designed slack or first stage, then increase pressure smoothly while maintaining sight alignment. The shooter should not suddenly jab the trigger when the sights appear to cross the centre.
Waiting for a perfectly motionless sight picture often creates a second problem. The shooter sees the sights briefly pass through the aiming point and attempts to seize the moment with a sudden trigger movement. The resulting disturbance can be larger than the original movement.
A better approach is to accept the normal movement of the position, maintain a controlled aiming area and complete the trigger press without adding a sharp input.
If the position deteriorates, stop. Rebuild it and begin again.
Follow-Through Completes the Shot
The shot is not complete when the trigger breaks.
Maintain the cheek weld, shoulder contact and trigger position as the rifle fires. Continue looking through the sights and allow the rifle to recoil without immediately lifting the head or relaxing the entire position.
The Civilian Marksmanship Program describes shot follow-up as including recoil control, follow-through and calling the shot. These actions help prevent movement during the short interval between trigger release and the projectile leaving the muzzle.
Calling the shot means recording where the sights appeared to be when the shot fired. A precise call is more useful than a hopeful guess based on where the shooter wanted the shot to go.
If the sights appeared low and left when the rifle fired, record that observation before examining the target. When the impact appears in the same area, the shooter has learned something about the execution of the shot. When the call and impact repeatedly disagree, ammunition, wind, sights, support technique or equipment may require investigation.
Build the Four Practical Positions
No single shooting position fits every situation. Terrain, vegetation, time, visibility and the availability of safe supports all matter.
Prone
Prone generally provides the greatest stability because the body is close to the ground and both elbows can support the upper body.
Position the body at an angle that allows the rifle to settle naturally on target. Keep the support elbow under the rifle as practical and establish firm, repeatable shoulder contact.
A sling can transfer rifle weight through the support arm and reduce the muscular work required to hold the rifle. When a bipod is used, the shooter should apply consistent support pressure rather than allowing the rifle to rest differently for each shot.
Prone may be unusable when vegetation, snow, uneven ground or an uphill target blocks the line of sight.
Sitting
A sound sitting position can be nearly as stable as prone while providing greater clearance over low vegetation.
Depending upon flexibility and terrain, the legs may be crossed, open or extended. Where the applicable range rules permit it, the elbows should make solid contact with the legs rather than balancing directly on the kneecaps.
Sitting often works well with a properly adjusted sling. It is also a valuable position for hunters because it can be established without requiring a perfectly flat firing point.
Kneeling
Kneeling provides more height and can be assumed more quickly than sitting, but it usually offers less stability.
One knee remains raised to support the forward elbow while the shooter sits partly on the rear heel or foot. The supporting elbow should rest on a stable portion of the leg instead of balancing directly on top of the kneecap.
An unstable kneeling position is often caused by narrow foot placement, excessive muscular tension or attempting to face the target too squarely. Adjust the angle of the body until the rifle settles naturally.
Standing
Standing is the least stable of the four positions because the rifle and upper body are supported above the ground by the legs and torso.
Balance is more important than stiffness. Place the feet securely, keep the body’s weight centred and avoid leaning so far that the muscles must continually prevent a fall.
The support elbow should be positioned so the skeleton carries as much rifle weight as the body and stock design allow. Accept that the sights will move through an aiming area. Attempting to freeze the rifle through muscular force normally makes the movement worse.
Standing remains worth practising. Terrain may prevent lower positions, and a shooter who only fires from a bench has not developed the balance or trigger control required to shoot accurately while upright.
Limited-Space Outdoor Event
Plinkin’ in the Woods
Practical marksmanship with Frugal Gunnie
Saturday, September 12, 2026
8:00 a.m.–5:00 p.m.
Great Ape Empire
267 Highway 6, Wiarton, Ontario
Practise prone, standing, seated and kneeling shooting while learning to use a sling, bipod, tripod and shooting bag. Participants receive individual feedback on shooting fundamentals, rifle fit and technique.
The supervised event uses .22 LR sporting rifles, allowing participants to concentrate on transferable marksmanship skills without heavy recoil. A PAL is not required to participate. PAL holders may bring a suitable .22 LR rifle and ammunition after confirming the event requirements.
Weekend camping: $20 per person
Space is strictly limited. Participants must comply with all organizer instructions and safety requirements.
Presented in collaboration with Off-Grid School, Preppers Meet, Canadian Preppers Network and Great Ape Empire.
Use Supports Consistently
A support does not automatically produce accuracy. It removes some sources of movement while introducing new variables that must be controlled.
Sling
A shooting sling can stabilize prone, sitting and kneeling positions by connecting the support arm to the rifle. It should be tight enough to provide useful support without cutting off circulation or forcing the rifle away from its natural point of aim.
Sling tension must be consistent. A major change in tension can alter pressure on the stock and change the rifle’s point of impact.
Bipod
Deploy a bipod on a firm surface where the feet will not slide or sink unpredictably. Establish repeatable shoulder and forward pressure. Avoid allowing the rifle to bounce freely for one shot and pressing aggressively into it for the next.
Confirm the rifle’s zero using the support arrangement that will actually be used. A rifle may not strike in precisely the same place when fired from a hard front rest, a bipod, a backpack or an unsupported position.
Tripod
A tripod can provide a steady standing, kneeling or seated firing platform where terrain prevents a lower position. Spread the legs securely and adjust the height so the shooter can remain balanced rather than crouching awkwardly.
Practise mounting and aligning the rifle without allowing the tripod to become a substitute for safe muzzle control.
Shooting Bag or Backpack
A shooting bag or firmly packed backpack can support the fore-end, the firing elbow or the rear of the stock. Avoid placing the rifle barrel directly on a support. Pressure should be applied to the stock or an appropriate mounted support rather than the barrel.
The bag should not shift, collapse or change density significantly between shots.
Separate Grouping from Zeroing
A tight group in the wrong location usually indicates that a sight adjustment is required. A wide, irregular group provides too little information to justify chasing individual impacts with the adjustment knobs.
The Canadian Cadet Marksmanship Program teaches grouping as the basis of good marksmanship. The Civilian Marksmanship Program similarly recommends firing a group before adjusting the sights.
Begin from a stable position at a distance appropriate for the rifle, sights, ammunition and range. Use one defined aiming point and fire a deliberate three- or five-shot group.
Evaluate the centre of the complete group—not the location of one convenient shot. Once the rifle and shooter are producing repeatable groups, adjust windage and elevation according to the sight manufacturer’s instructions.
Record the distance, ammunition, position, support, weather and sight setting. Confirm the adjustment with another group.
One minute of angle is approximately one inch at 100 yards, two inches at 200 yards and three inches at 300 yards. Metric-scope adjustments are often expressed in milliradians, with 0.1 milliradian corresponding to approximately one centimetre at 100 metres. Confirm the actual adjustment value marked on the optic.
Canadian Amateur Radio Training
Prepper Radio Canada
Build another practical preparedness skill with the Canadian Basic Amateur Radio Course for Preppers.
Study Canadian amateur-radio regulations, operating procedures, electronics, antennas and emergency communications through a self-paced online course created with preparedness applications in mind.
Move Away from the Bench
A shooting bench is useful for checking a rifle, comparing ammunition and establishing a preliminary zero. It removes much of the shooter’s difficulty and helps reveal whether the firearm and ammunition can produce a consistent group.
That is valuable diagnostic work, but it is not the end of marksmanship training.
Once the rifle has been confirmed, practise from prone, sitting, kneeling and standing. Add the supports that would realistically be available during competition, hunting or recreational field shooting.
A rifle zeroed from a bench should be confirmed from the position and support the shooter expects to use. Differences in body position, stock pressure and recoil behaviour can produce a meaningful shift.
Manage Recoil Without Anticipating It
With centre-fire rifles, recoil anticipation can cause the shooter to tense, push the shoulder forward, close the eyes or sharply pull the trigger before the rifle has fired.
The answer is not to pretend recoil does not exist. Establish a position that allows the body to receive recoil safely, maintain consistent shoulder contact and use hearing protection that prevents the report from becoming an unnecessary source of anxiety.
When technique deteriorates, stop. Continuing to fire while flinching merely rehearses the problem.
Low-recoil training can help a shooter practise the same sequence without fatigue, but the centre-fire rifle must still be used often enough to maintain familiarity with its trigger, sight picture and recoil.
Dry practice may also help develop position and trigger control, but only after all ammunition has been removed from the practice area, the firearm has been verified unloaded and the muzzle is directed into an appropriate safe backstop. Follow the firearm manufacturer’s guidance because some designs should not be dry-fired without suitable protection.
Diagnose the Shooter Before Blaming the Equipment
A poor group can result from the shooter, rifle, sights, ammunition, support or environmental conditions.
Before replacing equipment, ask:
- Was the same aiming point used for every shot?
- Was natural point of aim checked?
- Did shoulder, cheek and support pressure remain consistent?
- Was the trigger pressed without disturbing the sights?
- Was each shot followed through and called?
- Were wind conditions changing?
- Are the sight mounts and action screws secure?
- Was the barrel becoming excessively hot?
- Was one ammunition type used throughout the group?
Another experienced shooter can help isolate the problem. If the rifle groups well for that person, the original shooter has identified a training issue. If it groups poorly for both, the firearm, sights or ammunition deserve closer inspection by a qualified person.
Use a Repeatable Shot Plan
A shot plan turns the fundamentals into the same short sequence every time:
- Build the position.
- Confirm natural point of aim.
- Set the butt, grip and cheek position.
- Align the sights.
- Breathe and enter a comfortable firing pause.
- Apply controlled trigger pressure.
- Follow through.
- Call and record the shot.
The sequence should be simple enough to remember and specific enough to reveal where a shot began to deteriorate.
Do not measure a range session only by the number of rounds fired. Twenty deliberate shots with recorded observations may contribute more than a hundred hurried shots.
Amazon Buying Box
Build Your Range Kit
These support items help make deliberate practice safer, more consistent and easier to evaluate:
- Electronic hearing protection — Protects hearing while allowing range commands and instruction to remain audible.
- Impact-rated shooting glasses — Choose a comfortable pair that remains in place throughout the session.
- Adjustable rifle shooting sling — Useful for practising supported prone, sitting and kneeling positions.
- Front and rear shooting bags — Provides a repeatable support for zeroing and group evaluation.
- Paper rifle targets — Clearly defined aiming points and measurement grids make groups easier to assess.
- Spotting scope — Allows impacts to be checked without repeatedly interrupting the firing line.
- Shooting logbook — Records ammunition, distance, conditions, position, zero and observations.
- Calibre-appropriate rifle cleaning kit — Follow the firearm manufacturer’s maintenance instructions.
As an Amazon Associate, Canadian Preppers Network may earn from qualifying purchases. This does not change the price paid.
Measure Improvement Honestly
Accuracy standards should reflect the rifle’s intended purpose and the position being tested.
A small group fired from a heavy bench rest does not predict performance from standing. Likewise, a standing group should not be judged against the mechanical accuracy demonstrated from a stable rest.
Track comparable results:
- the same distance;
- the same position;
- the same support;
- the same target;
- the same ammunition; and
- similar environmental conditions where possible.
Measure complete groups rather than preserving only the best three impacts from a larger string. Record mistakes instead of discarding them as unexplained “flyers.” A shot that was called incorrectly or released from a collapsing position contains useful information.
The objective is not to manufacture an impressive photograph. It is to determine whether the shooter can repeatedly perform the intended task.
Training Converts Equipment into Capability
Owning an accurate rifle does not automatically make its owner accurate. A premium optic cannot establish natural point of aim. A bipod cannot correct inconsistent shoulder pressure. Match ammunition cannot repair a rushed trigger press.
Improvement comes from constructing stable positions, repeating the same connection to the rifle, observing the sights during the shot and recording what actually happened.
Start with grouping. Confirm the rifle and zero. Move away from the bench. Practise each position deliberately and learn to use supports without allowing them to introduce inconsistent pressure.
Most importantly, seek competent observation. A qualified instructor can see changes in balance, head position, grip, trigger movement and recoil anticipation that the shooter may not recognize from behind the sights.
Accuracy is not a single exceptional shot. It is the ability to build the position again and produce a similar result.
Sources and Further Training
- Civilian Marksmanship Program and U.S. Army Marksmanship Unit — Shooting Positions
- Civilian Marksmanship Program — Rifle Safety and Marksmanship Manual
- Civilian Marksmanship Program — How to Train
- International Shooting Sport Federation — Rules and Technical Resources
- Canadian Cadet Marksmanship Classification Program


One Comment