
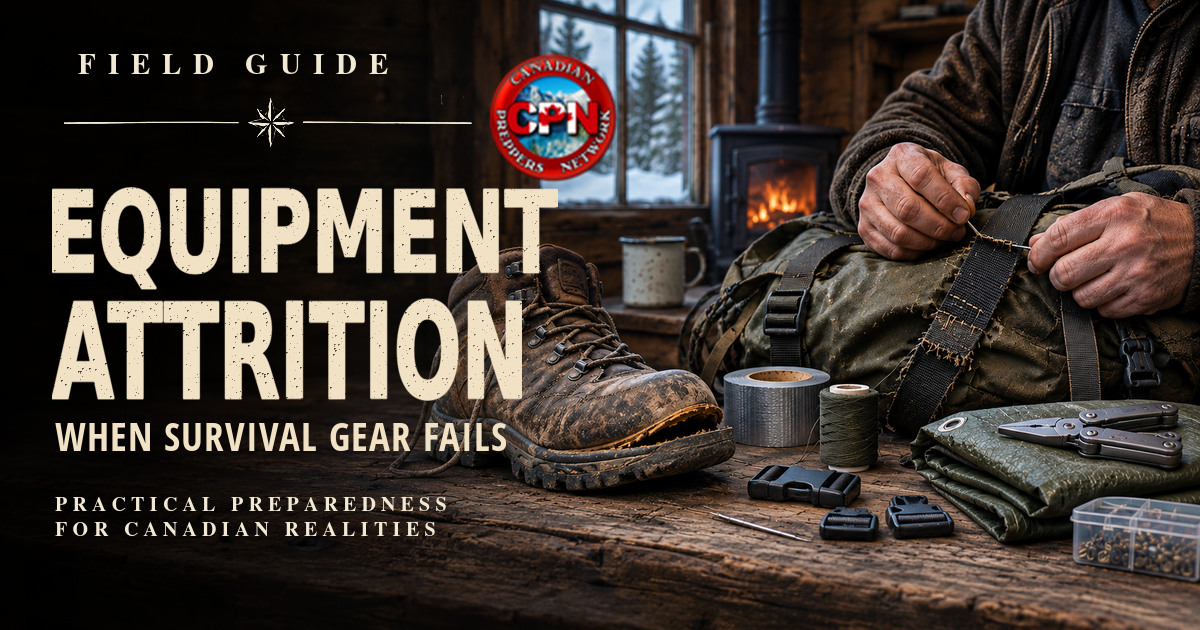
Equipment attrition starts with small failures. Here’s how to keep boots, packs, shelters and hand tools working when replacements are out of reach.
Six weeks into a supply disruption, the shoulder strap on your pack starts to pull away. One boot is lifting at the toe. The tarp you use to keep firewood dry has torn at a tie-out. The roads are still closed, and no replacement is coming this week.
Which repair gets your last length of heavy thread? That depends on what you need the gear to do tomorrow, whether you have a backup, and whether the remaining material can still hold a repair.
Equipment attrition is the gradual loss of capability as essential items wear out faster than they can be repaired or replaced. It usually arrives one cracked seam, broken buckle, and damaged component at a time.
1. Repair Before Failure
Repeated use can turn a small defect into a failure that takes a piece of gear out of service. One loose stitch along a backpack shoulder strap can pull free under repeated loads until the entire strap separates.
Inspect equipment at the end of each hard day. Look for sole separation, damaged stitching, cracked buckles, worn laces, fabric abrasion, loose tent attachment points, corrosion, and looseness in tool handles. Pay particular attention to points that flex or carry tension.
Catch small problems while they are still easy to repair. Mark the end of a fraying seam with a pencil or take a photo so you can tell at the next inspection whether the damage has spread.
2. Boots: The Equipment You Cannot Afford to Lose
A broken pack may force you to carry less. Damaged boots can stop you travelling entirely.
Separating soles
If you catch a loose toe or heel early, clean and dry the damaged area and use a flexible adhesive specifically approved for footwear, following the product’s preparation and curing instructions. Do not load the repair before it has cured.
If the sole shifts underfoot or catches on the ground, switch to spare footwear and limit travel until you can repair the boot. Check that the repair holds on level ground before relying on it away from camp.
Failed laces and torn uppers
Utility cord can replace laces if it fits the eyelets, maintains tension, and ties securely. Small tears in suitable fabric or leather can be patched and stitched, but avoid bulky repairs that cause blisters or compromise ankle support.
The moisture problem
Even intact boots become miserable when constantly wet. Rotate socks, remove insoles when possible, and dry footwear gradually. Never bake boots against a fire or hot stove: excessive heat damages adhesives, leather, and waterproof membranes.
If you own one serviceable pair of boots, treat them as critical equipment rather than ordinary clothing.
3. Backpacks: Rebuild the Load-Carrying System
Shoulder straps, hip belts, buckles, zippers, and webbing take repeated stress. A small component failure may make an otherwise sound backpack difficult to use.
Broken buckles
Pack correctly sized replacement buckles, ideally field-replaceable models that do not require you to remove sewn webbing. A cord substitute may work for a low-load compression strap. A hip-belt fastening is different: an improvised knot may slip or create an unsafe fit. Reduce the load and test any temporary arrangement before travel.
Torn shoulder straps
Reinforce sound webbing around the damaged section rather than simply closing the visible tear. On appropriate fabric, overlap material, add reinforcement, and use strong stitching distributed over a wider area. The original load rating is not automatically restored. Test at low weight first.
Failed zippers
Identify the failure before reaching for tools. A missing pull tab can often be replaced with cord. A worn slider may need a compatible replacement. Missing or damaged teeth usually require a more extensive repair. A flap with straps may substitute for the closure until a proper fix is possible.

CPN Gold · Member resources
Build Your Preparedness Reference Library
Access exclusive guides such as Practical Knots, member resources and the monthly Intelligence Briefing—while supporting independent Canadian preparedness publishing.
4. Shelter: Keep Weather Outside
A failed shelter exposes your sleeping equipment, clothing, and food to the elements. Repair small defects before wind or water enlarges them.
Fabric tears
- Clean and dry the affected area.
- Trim loose threads without enlarging the tear.
- Apply a patch or repair tape compatible with the shelter fabric, extending beyond the damaged section.
- Reinforce the reverse side when accessible and appropriate.
- Press and cure the repair according to the product instructions.
For larger tears, stitching followed by a compatible seam sealer may be required. Match the repair product to the coating. Silicone-coated fabric often requires a silicone-compatible sealant or patch system.
Broken tent poles
A properly sized pole-repair sleeve can bridge a damaged segment. Secure it against movement and cover sharp edges. A smooth, rigid splint may be a short-term alternative where a sleeve is unavailable, but do not assume an improvised repair will withstand severe winds.
Torn tie-outs
A ripped grommet or attachment can be temporarily replaced by gathering undamaged tarp fabric around a small smooth object and tying a line around the gathered section. Keep tension modest and inspect regularly. Replace or reinforce the original anchor when materials permit.
A shelter repair is not finished because it holds in calm weather. It must tolerate the loading and precipitation you are actually facing.
5. Cutting Tools: Protect Both Edge and Handle
An axe, saw, or knife needs regular maintenance when it is used day after day. Dirt, moisture, hard impact, and neglect shorten its useful life.
Axes and hatchets
Before work, inspect the handle for cracks, damage around the eye, and movement between the head and handle. Remove an axe with a loose head from service until it can be correctly rehandled or repaired using appropriate components. Do not rely on tape, random nails, or makeshift wedges on an impact tool.
Maintain the cutting edge with a suitable sharpening tool, respecting the bevel, and keep the edge protected during transport.
Folding saws
Clear resin and grit from teeth and the pivot. Inspect the locking mechanism and fasteners. Do not force a binding saw or trust a cracked handle or unreliable lock: sudden collapse can cause serious cuts.
Knives
Keep the blade clean and dry and check handle fittings and sheath retention. A well-maintained modest knife is more useful than several neglected ones.
6. Cooking Equipment: When to Take a Stove Out of Service
Not all repairs are safe. Pressurized fuel stoves, gas regulators, hoses, and fuel connections can cause fire or explosion when repaired improperly.
Only perform maintenance explicitly approved by the stove manufacturer, using correct replacement parts. Use only the fuel-system seals specified for your stove model. If a stove leaks or has damaged critical components, remove it from service and switch to a working backup and use it where its manufacturer permits.
A non-pressurized accessory such as a pot handle or gripper may sometimes be repaired or replaced, but anything holding boiling water must be mechanically dependable. Do not trust a precarious repair over a flame.
7. Build a Repair Kit for What You Actually Own
A repair pouch should address probable failures of your own equipment rather than imitate a generic survival checklist.
| Material | Primary field use |
|---|---|
| Heavy needles and strong thread | Clothing, canvas, webbing, and pack seams |
| Compatible fabric patches | Packs, jackets, and shelter fabric |
| Fabric-specific repair tape | Temporary repairs to punctures and tears |
| Utility cord | Laces, tie-outs, and light-duty fastening |
| Spare buckles and cord locks | Pack and clothing closures |
| Small multitool | Basic fastener and mechanical work |
| Tent-pole repair sleeve | Broken shelter supports |
| Equipment-specific screws and fasteners | Approved component replacements |
| Flexible footwear adhesive | Minor sole separation, when dry and properly cured |
| Manufacturer-approved stove spares | Only authorized stove maintenance |
At a home or retreat location, store a larger repair box with spare tool handles, fabric, webbing, leather scraps, stitching supplies, sharpening tools, hardware, and suitable adhesives.
Distinguish field stabilization from permanent repair. A temporary fix may get you back to camp; it should not automatically be trusted for indefinite heavy use.
8. Cannibalization: Sacrifice One Item to Save Another
An unusable backpack can still supply buckles, webbing, zippers, and patches. A destroyed tent can yield pole sections, cord, and tie-outs. Worn garments can provide buttons and reinforcing fabric.
Imagine one pack has an intact hip-belt buckle but a ruined main compartment. Another is structurally sound except for its buckle. Salvaging the compatible part may restore one dependable pack instead of leaving two damaged ones.
Sort reclaimed components by size and application. Do not salvage damaged parts for climbing, fall protection, pressurized fuel equipment, or other safety-critical uses.


Prepared Household Series · Downloadable books
When the Supplies Run Out, What Can You Make?
Explore practical recipes for household preparations, cleaning & sanitation, and personal care & hygiene. Download the PDFs to read on screen or print.
9. Triage: Repair What Matters Most
These priorities shift with conditions. A damaged shelter may be urgent during a storm; an unsafe water system may demand attention immediately in any weather.
Before spending time and parts on a repair, ask: What happens if the item fails? Do I have a dependable substitute? Will this repair consume resources needed for something more important?
10. The Seven-Day Equipment Attrition Test
Try this controlled exercise on a camping trip or during a preparedness week. Do not deliberately damage essential equipment; practise destructive tests only on retired or spare materials.
- Day 1: Inspect essential equipment and document existing wear.
- Day 2: Use your gear normally and inspect major stress points.
- Day 3: Patch spare fabric with the materials in your kit.
- Day 4: Replace a buckle or lace and test under light load.
- Day 5: Practise a shelter patch or tent-pole repair on spare components.
- Day 6: Inventory repair materials and identify missing parts.
- Day 7: Reinspect everything and record what you learned.
Which defects were easy to manage? Which failures stopped you? Which inexpensive spare part would have made the greatest difference?
11. Survival Skills That Extend Equipment Life
Boot soles wear down. Fabrics abrade. Plastics become brittle. Batteries degrade. Adhesives fail. No stockpile stays new forever.
Basic sewing, leatherwork, woodworking, sharpening, and mechanical repair are therefore preparedness skills, not quaint hobbies. Someone who can restitch a pack, replace a handle, patch a shelter, and maintain a cutting edge will have more options than someone who can only buy replacements.
Standardization helps as well. Compatible buckles, repairable clothing, common fasteners, and interchangeable tent parts reduce the number of unique spares a household must stock.
Final Field Assessment: Your Stockpile Has a Service Life
Preparedness is often measured in months of food, litres of drinking water, fuel, or batteries. But one more measure matters: how long can you keep your existing equipment working?
A warehouse full of supplies means little if you cannot move them. A retreat is a difficult place to live when the shelter leaks and the tools needed to maintain it have failed.
Equipment attrition begins as soon as gear starts wearing out. The people best positioned to manage it inspect early, repair intelligently, preserve spare parts, and understand the limits of improvised fixes.
Buying good equipment is a beginning. Keeping it operational is the real test.
THIS SATURDAY’S FIELD CHALLENGE
Empty your primary bug-out bag. Inspect every strap, buckle, zipper, seam, sheath, and tool. Identify three repairs you could not complete without visiting a store—and choose one to practise safely this week.
Stress-Test Your First 72 Hours
Use the free Canadian Grid-Down Starter Kit to check what your household can actually do during the first three days of an outage. Include a gear inspection so you know your equipment can handle the work.
Related Reading
Equipment for Field and Bench Repairs
The links below are affiliate links. As an Amazon Associate, Canadian Preppers Network earns from qualifying purchases. Canadian Preppers Network may also earn a commission from qualifying VEVOR purchases.
Amazon.ca repair supplies
- Gear Aid Tenacious Tape · Match the patch to the fabric and coating.
https://www.amazon.ca/s?k=gear+aid+tenacious+tape&tag=canadianprep-20&ascsubtag=gearbox - Aquaseal SR footwear adhesive · Check material compatibility and allow the full cure time.
https://www.amazon.ca/s?k=gear+aid+aquaseal+sr+shoe+repair+adhesive&tag=canadianprep-20&ascsubtag=gearbox - Field-repair pack buckles · Measure the webbing and match the buckle style before ordering.
https://www.amazon.ca/s?k=sea+to+summit+field+repair+buckle&tag=canadianprep-20&ascsubtag=gearbox - Hand sewing awl · Useful at a bench for suitable heavier fabric and leather.
https://www.amazon.ca/s?k=speedy+stitcher+sewing+awl+kit&tag=canadianprep-20&ascsubtag=gearbox - Tent-pole repair sleeve · Check the internal sleeve diameter against your pole.
https://www.amazon.ca/s?k=tent+pole+repair+sleeve+aluminum&tag=canadianprep-20&ascsubtag=gearbox
VEVOR Canada workshop tools
- 61-piece leatherworking kit · Hand tools for punching and stitching suitable leather pouches and belts.
https://s.vevor.com/QT150O - Manual grommet kit · For tarps and canvas with sound fabric and adequate reinforcement around the hole.
https://s.vevor.com/QT150Q - 550 W industrial lockstitch sewing machine · For a powered repair bench. Check the machine’s limits against your needle, thread and fabric thickness.
https://s.vevor.com/QT1504
