Curing vegetables for winter storage: four crops, four methods
Curing vegetables for winter storage begins before anything goes into a bin. A full harvest basket can give you a false sense of security. Potatoes, onions, garlic and winter squash may all look ready to put away, but a crop that goes straight from the garden into a bin can spoil long before winter is over.
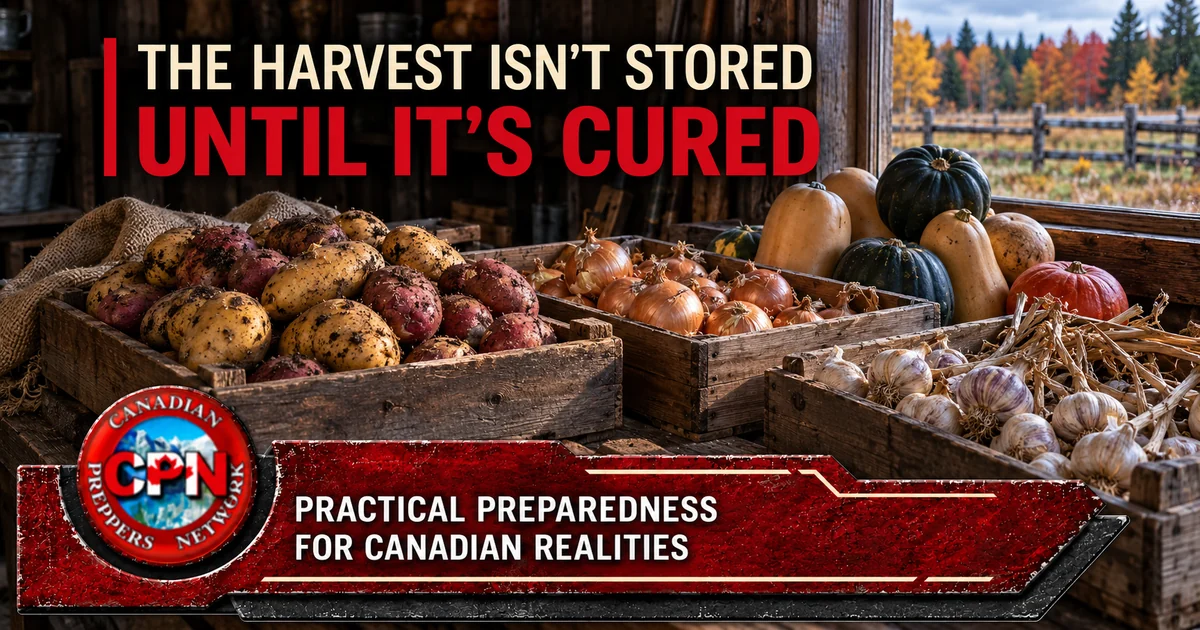
Curing is the work between harvesting and storage. Depending on the crop, it lets minor injuries heal, toughens the skin or dries the neck and outer layers. There is no single curing method for everything in the basket. Potatoes need darkness and relatively high humidity. Onions and garlic need dry air. Most winter squash needs warmth, while acorn squash is an exception.
If you are putting away food for a Canadian winter, set up separate spaces before the harvest comes in. A shaded shelf, a ventilated shed and a dark potato area each have a different job.
Curing Vegetables for Storage Starts With Sorting
Handle every crop gently. A cut, bruise or soft patch is a reason to move an item to the use-first pile, rather than burying it among sound produce. Keep visibly rotting produce out of storage.
Label each batch with its crop, variety and harvest date. Later, if one variety keeps well and another fails by December, you will have information worth more than a vague memory of what you planted.
Potatoes: Heal the Skin and Keep Out the Light
Storage potatoes need roughly two weeks at 10–16°C, in darkness, with high humidity and ventilation. This period helps minor wounds heal and the skin set. Keep them out of sunlight during both curing and storage; light can turn potatoes green. After curing, move sound potatoes to a cooler, dark storage area and check them regularly.
Do not wash a whole potato harvest simply to make it look tidy. Brush off loose soil and set aside badly damaged tubers for prompt use. The aim is a sound crop going into storage, not a clean-looking bin concealing cuts and bruises.
A basement can work, but measure its conditions instead of trusting the word basement. A warm room encourages sprouting. An unheated space that freezes is no solution either. For a broader look at crops intended for winter storage, see CPN’s garden planning guide.
Onions: Wait for the Necks to Dry
Spread onions in a single layer in a warm, dry, well-ventilated place. Allow approximately two to three weeks, then examine the bulbs rather than relying only on the calendar. The tops and necks should be thoroughly dry, and the outer skins should rustle. Once cured, trim the tops to about 2.5 cm above the bulb, or leave dry tops intact for braiding. Store the bulbs where air can circulate.
An onion with a thick, wet neck is not a good candidate for the back of the winter supply. Put questionable bulbs where you will see and use them first. Storage life also depends on the variety; curing cannot turn every onion into a long keeper.
Garlic: Dry It Thoroughly Before Trimming
Garlic needs a warm, dry, airy place, out of direct sun and extreme heat. Lay bulbs in a single layer or hang them with space for air to move. Allow roughly three to four weeks, until the foliage and wrappers are well dried. Avoid washing the bulbs before curing. Only then should you trim and sort them for storage or select sound bulbs for planting.
For many Canadian gardeners, garlic was harvested earlier in the season. October is a useful time to inspect what you cured: identify bulbs that are softening, record which varieties have held up, and protect your best planting stock from being eaten by accident.
Winter Squash: Know Which Kind You Have
Many winter squash varieties benefit from a warm curing period that hardens the rind and helps superficial injuries heal. Extension guidance commonly gives 27–29°C for about 7–10 days, with air movement. Do not apply that routine to acorn squash; warm curing can reduce its storage quality. Move cured squash to a suitable storage area and inspect the stems and rinds regularly.
That warm curing temperature can be difficult to achieve in a Canadian October without a controlled space. Do not assume a cold porch or a damp greenhouse is doing the job. If you cannot provide suitable conditions, favour sound, mature squash, keep it from freezing, inspect it often and use any questionable fruit promptly.
Make the Storage Area Earn Its Name
Before filling shelves and bins, place a thermometer in each proposed storage spot and record temperatures over several days, including cold nights. Ventilate where needed, keep produce off damp floors, and leave room to inspect it. The conditions that suit dry onion and garlic bulbs differ from those that suit potatoes, so one crowded corner should not be the entire plan.
If you are planning a larger storage space, CPN has three approaches to building a root cellar. Even then, measure the conditions in each part of it before assigning crops to shelves.
Set a weekly inspection day. Pull out anything softening or rotting, bring the least durable sound produce into the kitchen first, and note what failed. Curing improves your odds; it does not make a harvest maintenance-free.
What Will Still Be Sound in January?
The homestead skill here is bigger than filling a root cellar. It is learning to recognise when a crop is ready, giving it the conditions it needs, and checking your work through the winter. In a long disruption, that discipline is the difference between food you harvested and food you still have when you need it.
Before declaring the job done, write the first inspection date on your storage log. Check the same crates every week: remove anything softening, note condensation or freezing, and bring the least durable sound produce into the kitchen first. If one variety fails early, record it. That observation can change next season’s planting and preservation plan.
Which crop would fail first in your current storage space? Measure the room and inspect a small batch now, while there is still time to improve the arrangement.
Sources
- Iowa State University Extension: Storing Winter Storage Vegetables
- University of Maine Cooperative Extension: Growing Garlic in Maine
- Iowa State University Extension: Harvesting and Storing Onions
FREE CANADIAN PREPAREDNESS DOWNLOAD
Canadian Grid-Down Starter Kit
Use the printable first-72-hours checklist to test your household’s food, water, heat, sanitation, communications and operating routines before a disruption exposes the gaps.
Related CPN Reading
Amazon Buying Box: Harvest Curing and Storage
Choose supplies that solve a problem in your actual storage space. A thermometer tells you whether the room is suitable; breathable containers and clear labels make inspection and rotation easier.
- Indoor thermometer and hygrometer — monitor temperature and humidity where the crop will actually sit.
- Mesh produce storage bags — allow air around properly cured onions and garlic.
- Ventilated produce crates — organise sound crops without sealing them in airtight totes.
- Harvest storage labels — record crop, variety, harvest date and inspection notes.
- Light-blocking potato storage bags — help keep stored potatoes dark while permitting suitable airflow.
- Wire storage shelving — keep containers off the floor and accessible for inspection.
As an Amazon Associate, Canadian Preppers Network may earn from qualifying purchases. This does not change the price paid.
The crates themselves are not the system. A weekly inspection and a written use-first order are what keep a small spoilage problem from spreading through the winter supply.
BUILD KNOWLEDGE THAT SURVIVES THE EMERGENCY
CPN Gold Membership
Gold membership supports independent Canadian preparedness publishing and provides access to the CD3WD offline reference collection and the monthly Canadian Preparedness Intelligence Briefing.
Keep the harvest log with your other printed homestead references. If power, shipping or connectivity fails, the record of what worked on your property remains useful.
SUPPORT INDEPENDENT CANADIAN PREPAREDNESS
Visit the CPN Shop
Browse CPN books and clothing while supporting the publication of practical Canadian preparedness articles.