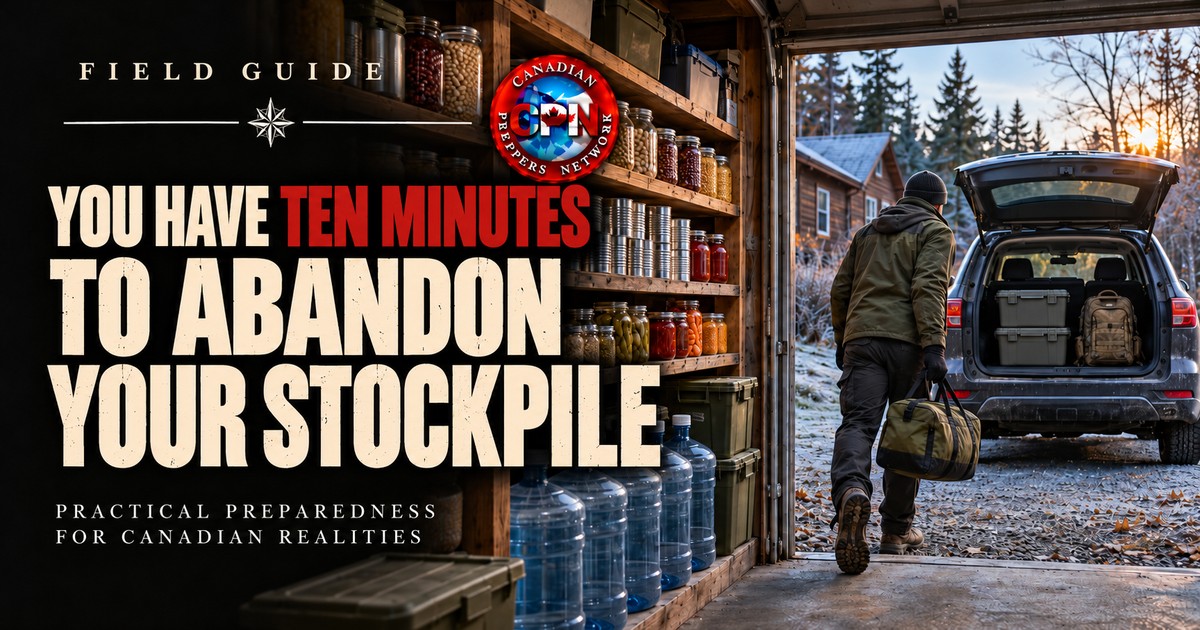
Years of preparation. One vehicle. What actually leaves with you?
The food stays on the shelves. The generator stays in the garage. Most of the water stays exactly where you put it.
You are leaving.
A ten-minute evacuation plan tests a decision many preppers would rather avoid: abandoning the stockpile they spent years building.
For someone who has spent years building a stockpile, that may be the hardest decision in preparedness. Every bucket represents money, work, and a little more confidence that your household can survive trouble.
Now the house cannot safely shelter you, and those supplies are competing for the time you need to escape.
A stockpile becomes a liability when protecting it delays your departure.
Here is the test: give your household ten minutes to get ready to leave. Find out what makes it into the vehicle—and what your survival plan looks like when everything else stays behind.
Table of Contents
Ten minutes is a drill, not a promise
Some emergencies allow hours of preparation. Others require immediate escape.
If fire or another immediate threat makes the building unsafe, leave. Do not spend ten minutes gathering equipment. NFPA’s home-fire escape guidance is clear: get outside and stay outside.
This exercise assumes the house remains safe to enter while you practise a short-notice departure. Its purpose is to expose delays in your evacuation plan before those delays matter.
Start from an ordinary day. Leave supplies where you normally store them. Use the vehicle you actually have, with its usual contents.
Do not spend the morning arranging equipment beside the door and then congratulate yourself on a fast evacuation.
That tests your ability to carry prepared boxes across a driveway. The real problem starts before the first box moves.
Decide what you will abandon before the clock starts
“I’ll take whatever I can” is a weak loading plan.
It leaves you deciding between a sleeping bag and a bucket of rice while someone else searches for medication. Meanwhile, the vehicle fills with whatever happens to reach it first.
Give your evacuation plan a clear loading order by dividing departure supplies into three groups.
| Priority | What belongs here | Decision |
|---|---|---|
| Immediate essentials | People, essential mobility and medical equipment, accessible medication, keys, suitable clothing, core grab bags, and pets where safely possible. | Organise these for the fastest departure. |
| Planned vehicle load | Additional water, food, bedding, shelter, communications, and necessary support equipment. | Load in a rehearsed order while conditions permit. |
| Optional additions | Extra tools, bulk food, larger power equipment, and additional comforts. | Take only after the essential load is secure. |
The exact contents depend on your household. Someone who needs a mobility aid or powered medical device has different priorities from someone travelling alone.
The principle stays the same: optional equipment never gets to consume the space or time reserved for essential needs.
|

Your basement pantry is not a mobile food reserve
A shelf full of supplies looks organised until you try moving it.
Glass jars require protection. Buckets are awkward on stairs. Large water containers become serious lifting jobs. Equipment stored behind other equipment adds another delay before loading even begins.
Twenty litres of water weighs approximately twenty kilograms before you count the container. Two such containers mean roughly forty kilograms that somebody must move.
Can the person home during the day lift them? Can they do it on icy steps? Can they carry one while using a handrail?
Split the departure reserve into manageable units. A smaller container that someone can safely move is more useful than a large one they must leave behind.
A folding hand truck can help move suitable containers across firm, level surfaces. It still needs a clear route, a secured load, and someone able to control it. Do not assume it solves stairs or winter footing.
Keep a portable food module separate from the main pantry: familiar food, ready-to-eat options, utensils, and whatever opener or preparation equipment it requires.
Your evacuation plan should keep the first meal simple. It should not depend on retrieving a stove from beneath six other containers.
Test your evacuation plan against the clock
Before beginning, agree on a safe practice destination and tell everyone this is a drill. Assign someone to record delays.
Then start the timer.
These are checkpoints for the exercise, not permission to remain when conditions require leaving sooner.
| Time | Check |
|---|---|
| First two minutes | Is everyone accounted for? Are assistance needs being handled? Are keys, medication, footwear, and core bags immediately available? |
| By five minutes | Can the household leave with its essential needs covered? Are passengers and pet carriers accounted for in the loading plan? |
| By eight minutes | Is the planned load secured, with necessary supplies accessible? |
| By ten minutes | Can everyone take their seat, fasten restraints, close the doors, and depart? |
A pile beside the vehicle does not count as loaded.
A packed boot does not count as ready if the pet carrier no longer fits.
An open tailgate and someone shouting “one more trip” means the drill has found a problem.
Stop the clock when you can leave, not when you run out of things to carry.
Evacuation loading: people before equipment
Cargo space encourages optimism.
You see an empty corner and squeeze in another bucket. Then a passenger discovers there is nowhere for their feet, or the first-aid kit disappears beneath a toolbox.
Start with the seating and restraint arrangements your household needs. Allow for mobility equipment and properly secured pet carriers.
Build the loading stage of your evacuation plan around that.
Keep heavy equipment low and secured. Use the vehicle manufacturer’s load limits, including the combined weight of occupants and cargo. Check the ratings of any roof rack, carrier, or trailer separately.
Use suitable cargo restraints and rated attachment points. The breaking strength advertised on a strap is not its working load limit, and a strong strap cannot compensate for a weak attachment.
Arrange essentials so they remain reachable without unloading the vehicle beside a road.
Useful containers have:
- Handles that remain comfortable under load.
- Secure closures.
- Clear labels on more than one side.
- A loaded weight their assigned carrier can manage.
- Dimensions that fit the actual vehicle.
Buy containers after measuring the available space. A matching set of enormous totes can turn a manageable evacuation load into a lifting problem.
Give everyone an evacuation job
“Everybody grab something” creates duplication and omissions.
One person assumes somebody else has the medication. Two people carry food. Nobody has checked the pet carrier.
Assign responsibilities that fit the people available. Someone may handle passenger assistance and core bags while another loads the vehicle. Someone living alone needs an evacuation plan that works without help.
Now remove your strongest person from the exercise.
Perhaps they are at work. Perhaps they are injured. Perhaps they are the person who needs assistance.
Can the remaining household still leave?
Anything that requires an unavailable helper must be repacked, repositioned, replaced, or removed from the essential load.
|

The vehicle will not start. What leaves now?
Test your evacuation plan a second time with the vehicle unavailable.
This does not automatically mean walking into the bush. Depending on the threat, your alternative might be a nearby safe building, an arranged lift, a second vehicle, or another planned transport option.
The question is what you can move to that option.
Pull the core bags from your vehicle load. Can each person manage their assigned equipment? Can someone still assist a person with limited mobility?
A cart or wagon may help on a suitable route. It may become difficult on stairs, deep snow, rough shoulders, or soft ground. Test it loaded where you expect to use it.
Keep core essentials together so abandoning a vehicle does not require sorting through every container first.
If your evacuation plan only works while every machine works, you have found another dependency to address.
The expensive equipment may have to stay
This is where the exercise gets uncomfortable.
A large power station may be valuable after departure. It may also take longer to retrieve and load than your immediate circumstances allow.
The generator might fit—until you account for the equipment needed to use it safely and the space already committed to people and essentials.
A freezer full of meat represents real money. Emptying it can still be the wrong use of your remaining time.
Decide which capabilities must travel and choose equipment around that requirement. Portable charging may cover your communications needs. Essential medical power may require a much more substantial, carefully tested arrangement.
Do not let purchase price set loading priority.
You are choosing what helps the household leave and function afterward. Some expensive possessions will fail that test.
Keep something beyond the house
Your home and everything inside it can become inaccessible together.
Where practical, arrange a modest reserve at a trusted location outside the same likely hazard area. It could include clothing, bedding, basic supplies, and secure copies of important information.
Confirm that you can access it and that its keeper has agreed to the arrangement. Maintain it as deliberately as the supplies at home.
A complete evacuation plan also needs an actual destination and a backup.
“Head north” leaves too many decisions for the road. Know where you intend to go, how you will get there, and what you will do if that location is unavailable.
Your first stop is part of the evacuation plan
Getting off the property is the first objective. Arriving somewhere your household can function is the next one.
Choose a primary destination where you have permission to arrive, then identify an alternative outside the same likely hazard area. Check whether everyone can enter, whether pets are accepted, and whether the location can accommodate mobility or essential medical equipment. A familiar address is not automatically a suitable evacuation destination.
Keep the address, contact details, and agreed meeting point on paper as well as on your phone. If the usual road is closed, the person navigating should know which alternative route is suitable for the vehicle actually being driven. A line on a map does not establish winter maintenance, bridge clearance, or permission to cross private land.
For the drill, drive the loaded vehicle to a safe, agreed practice location. Park normally and retrieve the equipment you would need first: medication, water, suitable clothing, communications, and a simple meal. Time that process separately from loading.
If obtaining one essential requires putting half the cargo on the ground, change the loading order. If a passenger cannot reach their coat without opening the rear hatch, give that coat an accessible place before the next test.
Agree on how you will report arrival and what household members should do if communications fail. Anyone absent when the evacuation begins needs a predetermined meeting arrangement; they should not have to guess whether to return to an unsafe property.
Finish by checking the transport fallback. Can the household reach the alternative pickup point with its core supplies? Is the person providing a lift expecting that responsibility? Include those answers in the evacuation plan before counting the exercise as complete.
Score your evacuation drill—and fix what failed
Record:
- Time until the household could depart.
- Essential items missed.
- Containers that were too heavy.
- Equipment that did not fit.
- Supplies buried beneath cargo.
- Tasks that depended on an absent person.
- What remained usable without the vehicle.
Then correct the worst failure in your evacuation plan and repeat the exercise.
Spend money on demonstrated problems: manageable water containers, secure cargo straps, suitable bags, accessible lighting, or a cart that has proved useful on your route.
Another gadget will not fix medication stored in three rooms or keys nobody can find.
Set a timer this week. At ten minutes, look at what is ready to leave. That is the evacuation capability you have today.
Everything still on the shelves belongs to a different plan.
What would be hardest for you to leave behind—and have you allowed that attachment to affect your departure plan?
FREE CPN DOWNLOAD Stress-Test Your First 72 HoursUse the free Canadian Grid-Down Starter Kit to review your household’s first 72 hours, identify weak points, and turn the gaps into practical preparations.
|
Related Reading
- Pack Like You’re Bugging Out
- Vehicle Evacuation Plan: Canadian Bug-Out Guide
- Mobility & Transportation in a Canadian Emergency
Equipment That Helps Your Supplies Leave With You
Buy to correct the failures your evacuation drill exposes. Measure the vehicle, weigh the loaded containers, and test the equipment before depending on it.
Amazon.ca
Manageable water containers: Compare food-grade containers around 5–10 litres rather than assuming everyone can lift a full 20-litre container. Check closures, handles, and storage dimensions.
https://www.amazon.ca/s?k=food+grade+water+container+10+litre&tag=canadianprep-20&ascsubtag=gearbox
Grab bags and duffel bags: Choose a size and carrying system the intended user can manage when fully packed. Keep essential supplies together and immediately accessible.
https://www.amazon.ca/s?k=backpack+duffel+bag+40l&tag=canadianprep-20&ascsubtag=gearbox
Latch-lid storage totes: Compare external dimensions, lid security, and handles. Keep each loaded tote within the safe carrying ability of its assigned user.
https://www.amazon.ca/s?k=latching+storage+tote+container&tag=canadianprep-20&ascsubtag=gearbox
Water-resistant document pouches: Keep important copies and contact information organised inside the core departure bag. Check closure and water-resistance specifications.
https://www.amazon.ca/s?k=waterproof+document+pouch&tag=canadianprep-20&ascsubtag=gearbox
Headlamps for hands-free loading: Keep suitable lighting accessible for a departure in darkness, with the batteries or charging arrangements it needs.
https://www.amazon.ca/s?k=headlamp+replaceable+batteries&tag=canadianprep-20&ascsubtag=gearbox
VEVOR Canada
Folding hand truck: VEVOR lists this aluminium model with a 309 lb capacity and telescoping handle. Consider it for moving suitable containers over firm surfaces. Check its dimensions, operating instructions, and suitability for your route; the stated capacity does not establish stair, ice, or rough-ground performance.
View the VEVOR Folding Hand Truck →
Ratchet cargo straps: This four-piece set uses 2-inch by 15-foot straps with double J-hooks. Confirm that the hooks fit your rated cargo attachment points and follow the labelled working load limit. The advertised 5,000 lb breaking strength is not the working load limit.
View the VEVOR Ratchet Strap Set →
Collapsible folding wagon: VEVOR lists this model with a removable canopy and 220 lb maximum carrying load. Compare folded size, wheel design, and handling against your actual route. Test it with a realistic load; do not assume it will travel easily through deep snow or soft ground.
View the VEVOR Collapsible Wagon →
Affiliate disclosure: As an Amazon Associate, Canadian Preppers Network earns from qualifying purchases. CPN may also earn a commission from purchases made through the VEVOR affiliate links above. These commissions do not increase the price you pay.