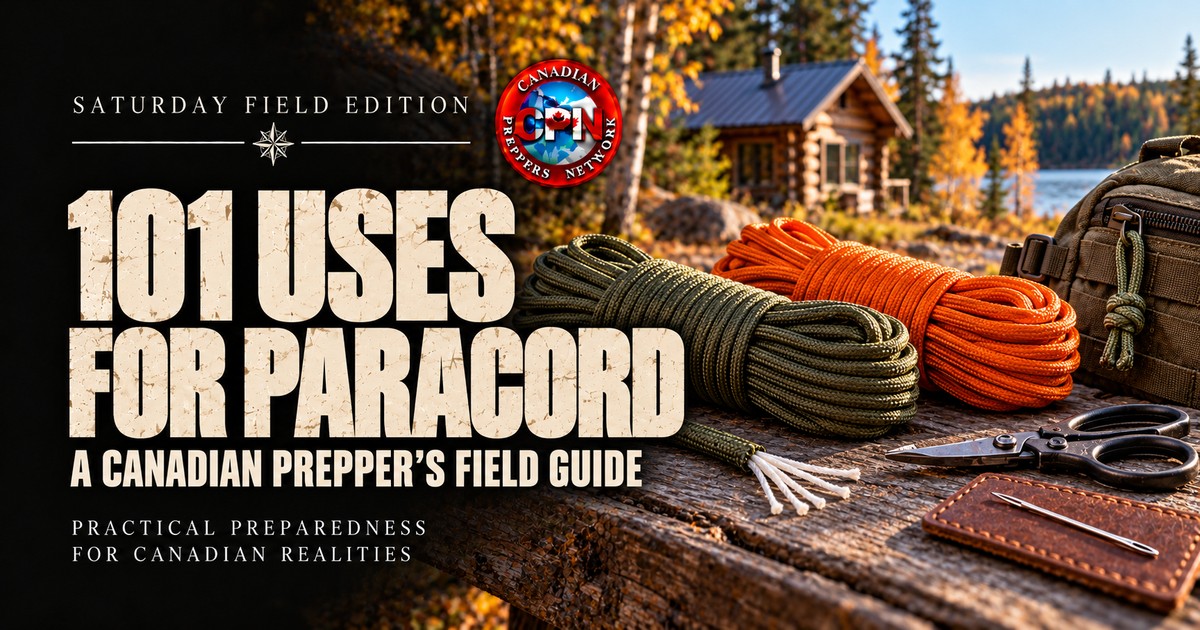
101 practical ways to repair, organize and improvise with paracord.
A broken zipper pull rarely makes anyone’s disaster plan. Neither does a missing bootlace, a flapping tarp or a pack strap that gives up halfway back to camp. But those small failures can turn ordinary work into a miserable afternoon, especially when the nearest replacement is a long drive away—or no longer available.
Paracord earns its place by keeping useful things working. At a retreat, around a Canadian homestead or during a prolonged supply disruption, the ability to fasten, mend and improvise matters.
Keep some accessible, learn a few dependable knots and put it to work before you need it. These 101 uses give you somewhere to start.
Table of Contents
Buying Paracord: What to Check
Common 550 paracord has a braided sheath surrounding several inner strands. Those strands can be removed for light stitching and other fine work. Check the actual product specifications: material, diameter and construction vary. Atwood’s standard 550 product, for example, lists a 4 mm diameter and seven inner strands.
The 550 marking describes tensile breaking strength, not permission to suspend a 550-pound load. Knots, damage, anchors and sudden loading all affect the finished system. Keep ordinary paracord for utility work; use purpose-rated equipment for climbing, rescue, hammock suspension, towing and lifting. TOUGH-GRID also explicitly distinguishes its cord’s breaking strength from working load and says it is not intended as climbing rope.
Nylon cord stretches. Recheck outdoor setups after rain, overnight use and temperature changes. Keep lines visible, keep loose loops away from children and animals, and keep synthetic cord away from stoves, exhausts and flames.
The applications below are practical suggestions for light-duty work. Use proper hardware wherever a failure could injure someone or release livestock.
Paracord Uses for Shelter and Camp Setup
- Pitch a tarp ridgeline. Support a small weather cover between suitable anchors, using broad protective straps where it contacts living trees.
- Replace a missing guyline. Restore a tarp or tent tie-out; check tension again after the shelter settles.
- Extend a peg loop. Reach a better patch of ground when a rock prevents normal stake placement.
- Rig a tarp drip line. Tie a short downward-hanging paracord tail to a sloping support line before it reaches shelter, encouraging runoff to drop outside.
- Close a shelter flap. Lace existing reinforced loops together while retaining ventilation and an easy exit.
- Create a privacy screen. Suspend a lightweight sheet around a wash area, clear of heaters and cooking equipment.
- Brace a light camp screen. Guy a freestanding screen against ordinary movement; take it down when wind exceeds the setup’s capability.
- Assemble a small drying rack. Lash smooth sticks into a low frame for airing gloves and socks.
- Make a tent gear loft. Lace a small mesh shelf to manufacturer-provided attachment points for glasses and other light items.
- Rig a mosquito-net support. Hold netting clear of your face without using the cord to support a person.
- Fasten a tent-footprint corner. Replace a missing connector between the groundsheet and its intended attachment point.
- Flag a low guyline. Add a bright cord tassel where someone might otherwise walk into it.
Paracord Uses for Equipment Repairs
- Replace a zipper pull. Thread a short loop through an intact slider and knot it for a mitten-friendly grip.
- Replace a stuff-sack drawcord. Feed paracord through the existing channel; confirm it fits the cord lock.
- Bypass a broken pack buckle. Lace the strap ends together through intact attachment loops for a temporary closure.
- Retain a pack strap’s loose tail. Add a small paracord keeper loop so excess webbing stops dangling.
- Close a failed boot gaiter attachment. Lace sound eyelets together temporarily, keeping cord clear of the sole and traction devices.
- Repair a mesh pocket. Weave inner strands across a small opening to retain light contents.
- Stitch a torn stuff sack. Use an inner strand and suitable needle for a temporary seam repair.
- Replace a handle grip. Wrap an intact rigid handle to improve comfort; leave its attachment points visible for inspection.
- Retain a loose storage-case lid. Tie through existing eyelets until the latch can be replaced.
- Repair a laundry-bag seam. Lace or stitch sound fabric around the damaged section.
- Replace a missing tent-pole bag closure. Add a tie around the bag mouth to stop sections escaping.
- Keep a removable equipment cap attached. Add a short tether through suitable tabs, clear of moving parts.
- Bridge a split gear pouch. Lace its existing grommets or reinforced edges together, then carry only light contents.
Carrying and Organizing With Paracord
- Bundle tent poles. Keep sections together without stretching the internal shock cord unnecessarily.
- Compress a sleeping mat. Tie two separate bands around a rolled mat for storage.
- Make a blanket carrier. Join two encircling loops with a handhold for carrying a rolled blanket.
- Pair work gloves. Connect their hanging loops when they are stored, removing the tie before use.
- Keep footwear together. Tie hiking boots as a pair while they are packed or drying.
- Make a key fob. Add a bright, bulky braid that is easier to find in a deep pocket.
- Colour-code kit bags. Attach different cord colours to water, repair and hygiene pouches.
- Add a pack attachment loop. Use an existing webbing point to retain a light accessory, checking for snag hazards.
- Make a belt-mounted utility loop. Carry a light pouch close to the body without a long dangling tether.
- Create a small gear net. Knot a shallow cradle for light, soft items on a stationary cabin shelf.
- Secure a rolled map. Use a reusable paracord slip loop instead of tape on the map surface.
- Make a battery-case retrieval tab. Attach a short pull to the case so it can be removed from a snug pouch.
- Bundle extension leads. Tie a loose coil for storage and fully uncoil it when the application requires it.
Paracord Fixes for Clothing and Footwear
- Replace a bootlace. Confirm the paracord fits the eyelets and tie it securely before walking.
- Replace a trouser drawstring. Use a blunt threading aid to feed it through the waistband.
- Make a temporary belt. Thread through belt loops and use an easily released fastening.
- Replace a mitten keeper. Connect mittens to appropriate adult outerwear loops, avoiding long loose cords.
- Repair a snow-pant cuff closure. Use existing reinforced points and keep the repair clear of boots and bindings.
- Replace a jacket hem drawcord. Restore adjustment without pulling the hem uncomfortably tight.
- Reattach a button. Use a separated inner thread and needle when ordinary sewing thread is unavailable.
- Mend a glove seam. Stitch a small split with inner thread, checking that the repair does not restrict movement.
- Add a coat hanging loop. Sew a short cord loop into a sound seam allowance.
- Darn a small sock hole. Use a fine inner thread to weave across a worn patch; keep the repair flat to avoid rubbing.
Paracord Uses Around the Garden and Homestead
- Lay out a straight planting row. Stretch a temporary guide between stakes, then remove it after planting.
- Mark seed spacing. Add measured knots to a paracord planting line for consistent intervals.
- Support climbing peas. Build a lightweight grid on a sound frame and remove it at season’s end.
- Guide tomato stems. Run vertical support lines and attach stems with broad, loose plant ties rather than tight cord.
- Hold row-cover edges. Lace reinforced edges to appropriate anchors without crushing plants.
- Tie a small shade-cloth panel. Fasten its reinforced points to a garden frame and remove it before severe weather.
- Gather drying herbs. Tie small bundles for hanging in a clean, ventilated space.
- Bundle prunings. Make manageable bundles for hand carrying; remove synthetic cord before disposal or burning.
- Close a compost-sack mouth. Keep collected dry leaves contained until they are needed.
- Hold a patch on garden mesh. Lace overlapping sound edges around a small hole.
- Assemble a light trellis. Lash crossing sticks for small seasonal plants.
- Mark a buried irrigation route. Run a temporary surface guide while recording pipe locations; remove it when documentation is complete.
- Retain a wheelbarrow cover. Tie a fitted cover to the parked barrow to keep stored materials sheltered.
- Hang garden labels. Attach weatherproof identification tags to stakes, leaving the plants themselves unencircled.
Paracord Uses for Cabin and Household Jobs
- Hang a temporary curtain. Support a lightweight panel across a small window, away from heat and children’s reach.
- Make a short clothesline. Air a few garments between sound anchors; spread wet items across several lines if needed.
- Keep storage-bin lids matched. Tether a lid to its empty bin through suitable existing holes.
- Retain stacked empty containers. Tie them together in a sheltered storage area so they stop scattering.
- Make a basket handle. Braid a replacement through intact rim attachment points and test it with light contents.
- Bundle flattened cardboard. Keep clean packing material organized; remove cord before recycling.
- Bind newspapers for storage. Retain paper supplies in manageable bundles away from heat sources.
- Hang a lightweight organizer. Suspend fabric pockets from sound wall hooks, within their capacity.
- Hold a cupboard door closed. Tie paired handles temporarily while replacing a failed catch; keep it accessible.
- Tie back an interior door during moving. Hold it against a suitable stop while carrying boxes, then remove the tie immediately afterward.
- Suspend a light display board. Attach through its existing eyelets on a suitable wall hook.
- Keep a rug rolled. Add two ties for storage or carrying, removing them before laying it out.
Paracord Uses for Travel and Vehicle Organization
- Retain a roadside-kit pouch. Tie it to a fixed cargo-area anchor where it cannot affect airbags, controls or seat mechanisms.
- Close a broken suitcase zipper. Lace intact zipper pulls together temporarily to keep the bag shut.
- Identify your luggage. Add a distinctive braid to its handle without displaying personal information.
- Secure a folded camp chair in its bag. Replace the bag’s missing closure before packing it inside the vehicle.
- Hang a campsite wash bag. Use a short loop on an appropriate hook, keeping it off muddy ground.
- Keep levelling blocks together. Thread compatible openings to retain an unused stack in an RV storage compartment; remove the tie before use.
- Restrain an empty cooler lid at camp. Tie it shut during stationary storage; use proper transport restraints in a moving vehicle.
- Make a boot-scraper pull loop. Add a short retrieval handle to a portable scraper stored in a cargo tray.
Paracord Uses for Outdoor Recreation and Fieldwork
- Attach a whistle to a pack strap. Use a short tether that stays accessible and does not form a neck loop.
- Retain a compass in its pouch. Connect its lanyard point to a secure pocket attachment.
- Add a binocular lens-cap tether. Keep the cap paired with the case while avoiding controls and moving parts.
- Make a fishing-reel storage tie. Prevent loose line spilling from a spare spool in your tackle box.
- Wrap a landing-net handle. Add a removable grip to an intact handle without covering damage.
- Fasten a trail-camera mounting bracket. Use manufacturer-approved attachment points and broad tree protection where needed.
- Mark a temporary survey point. Tie bright cord to a stake on your own property and remove it when finished.
- Make a field-notebook closure. Fit a reusable loop around the covers to retain loose notes.
- Retrieve a small dropped object. Lower a securely attached magnet into a narrow accessible gap, clear of electrical equipment.
- Make a light measuring line. Mark known intervals for approximate camp layouts; keep a tape measure for precise work.
Paracord Uses in the Workshop
- Pull a replacement drawcord through a channel. Join it securely to the old cord before withdrawing the old one.
- Thread a small brush through an empty hose. Use a smooth, securely attached cleaning head on a disconnected non-potable hose.
- Make a plumb line. Suspend a small weight for checking vertical alignment during light construction.
- Draw a large circle. Tie cord between a fixed centre point and a pencil for workshop layout.
- Align a fence run. Stretch a temporary paracord line between end stakes before setting posts.
- Retrieve a short cable through an open sleeve. Use cord as a messenger in a disconnected, accessible low-voltage installation.
- Whip another rope’s end. Wrap and secure inner strands around a fraying utility-rope end.
- Make a reusable parts tag. Tie a labelled card to dismantled components so reassembly is easier.
- Practise knots with a dedicated length. Learn the bowline, two half hitches and a friction hitch before trying them with cold hands.
Three Paracord Projects Worth Practising
1. Make a Glove-Friendly Zipper Pull
Cut approximately 15–20 cm of cord. Pass it through the intact slider eye, bring both ends together and tie an overhand knot with the paired ends. Leave a short loop and trim excessive tails. Test it wearing the gloves you actually use.
If full cord will not fit, use thinner utility cord rather than forcing the slider. Keep the pull short enough that it cannot easily snag. This is a repair to the grip, not to a broken zipper mechanism.
2. Rig a Short Drying Line
Choose sound anchors out of the walking route. Secure one end with a bowline and the other with two half hitches around the anchor. Start with a short span and a few light garments. Inspect the knots and anchors before loading it, then check for sag.
Use broad protective straps around living trees. Spread the load rather than hauling the line drum-tight. At a cabin, place it well away from a stove and its required clearances; cord and clothing must never hang above a heater.
3. Recover Inner Strands for Repairs
Set aside a short sacrificial piece. Cut it cleanly, expose the core at one end and slide the outer sheath back to withdraw the inner strands. Select a strand, or separate a finer thread if the construction permits, and test it with your needle on scrap fabric.
Keep the remaining strands wound on a small card. Label the empty sheath separately: it no longer has the intact cord’s original strength. Store sharp needles in a protective case.
Build a Useful Paracord Kit
A suggested starting supply is 30 metres of general-purpose cord plus 15 metres in a bright colour, divided into labelled hanks. Preserve one longer piece for camp setups and use shorter lengths for repairs.
| Item | What to Look For | Why It Earns Space |
|---|---|---|
| General-purpose 550 paracord | Clearly stated material, diameter, core construction and manufacturer | Everyday repairs and utility setups |
| Bright or reflective cord | Suitable diameter for your intended hardware; stated specifications | Visible guylines, identification and retrieval tabs |
| Thin utility cord | A size that fits small sliders and cord channels | Jobs where 4 mm cord is unnecessarily bulky |
| Cord locks | Correct size for the cord, tested before packing | Replacement drawstring closures |
| Small accessory clips | Clear manufacturer limitations | Organizing light items; never climbing or lifting |
| Broad webbing straps | Suitable width and sound stitching | Protecting tree bark at temporary anchors |
| Repair needles and scissors | Needles compatible with your thread, stored safely | Fabric repairs and clean cuts |
| Winding cards and labels | Smooth edges and legible length markings | Keeping usable cord accessible |
Read the specifications rather than buying by colour or a “survival” label. A plain hank that uncoils cleanly is often more useful than a complicated woven accessory you have never practised taking apart.
This Saturday’s Field Exercise
Put on your work gloves. Replace one zipper pull, rig a short drying line and stitch a scrap-fabric seam with an inner strand. Then untie everything and repack it.
You will learn which cord fits your equipment, which knots you can manage and what belongs in your repair kit. That experience is what turns a coil of paracord into preparedness.
Sources
Related Reading
- Wilderness Skills in Canada — build the wider field skills that make simple equipment useful.
- Build a Woodland Outpost That Lasts — plan a practical bush base for repeated use.
- Your Radio Works—Until a Five-Dollar Part Fails — apply the same repair-and-spares mindset to communications.