Keeping your communications station alive when replacement parts stop arriving
The power has been out for eight days. Your household has settled into a routine: ration fuel, manage water, keep the stove fed and check the radio at the agreed times.
Then, during the evening check-in, the radio shuts off.
You inspect the battery. There should still be enough charge. You press the power button again. Nothing.
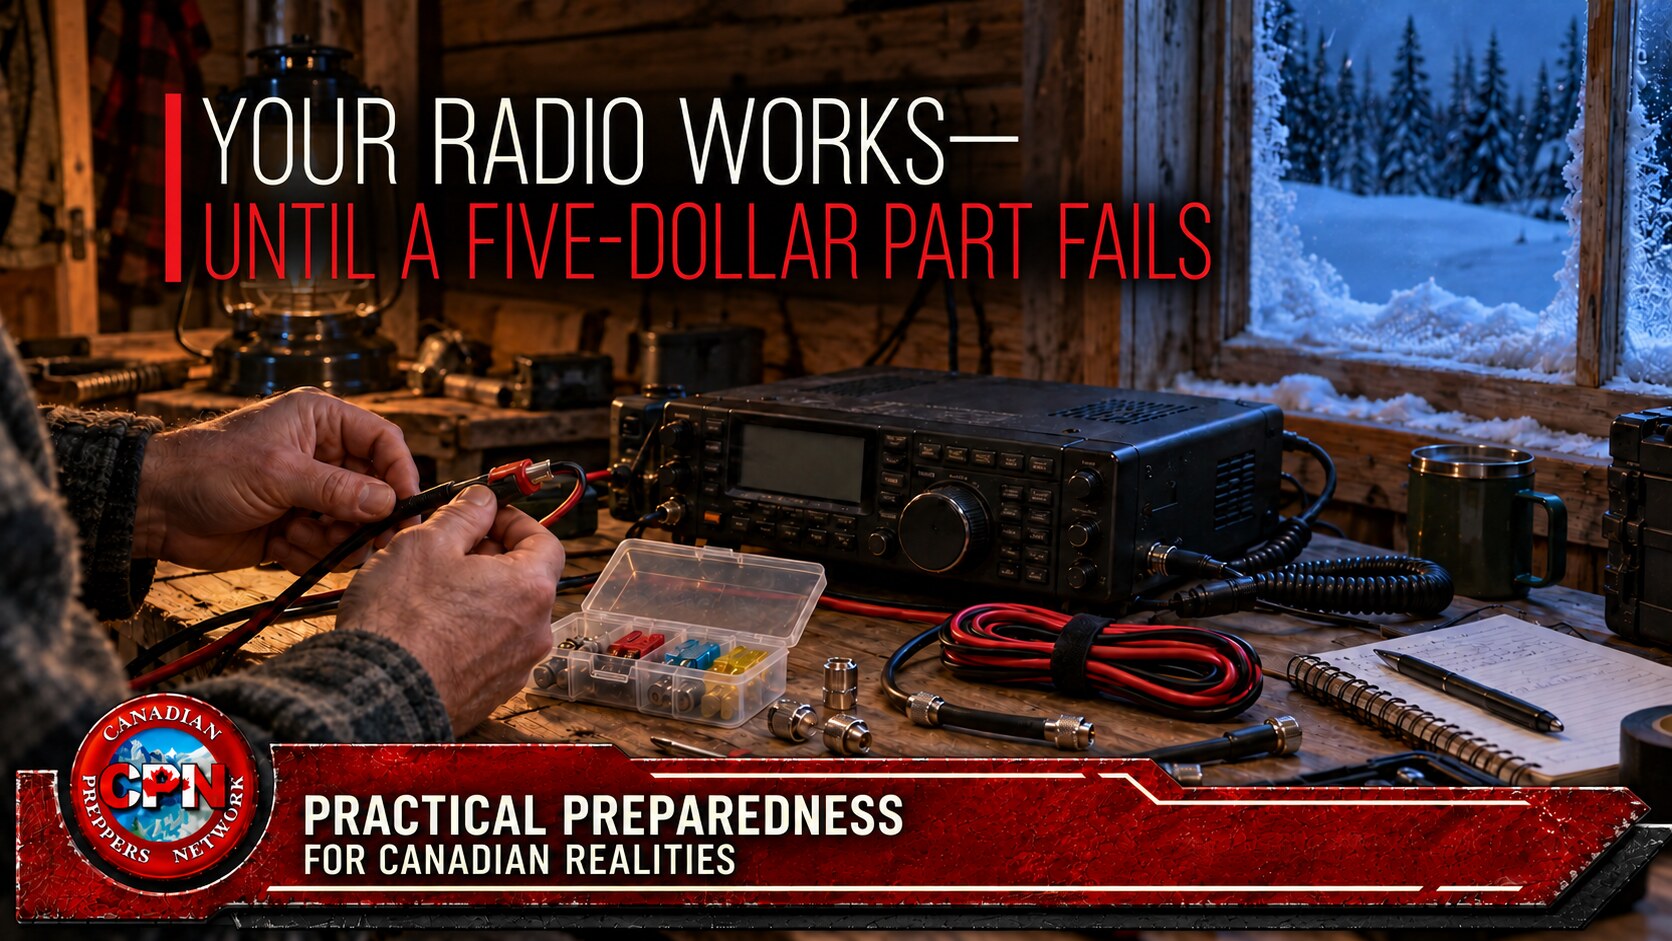
The problem could be a failed radio. It could also be a fuse, a damaged lead or a loose connection inside the power plug. Any one of those can leave perfectly serviceable equipment silent.
Before the disruption, the solution might have been a quick order and a delivery truck. During a prolonged breakdown, that small component becomes the difference between maintaining contact and losing it.
A radio repair kit deserves space beside your communications equipment. Its purpose is straightforward: keep ordinary, repairable failures from taking your station out of service.
FREE CANADIAN PREPAREDNESS DOWNLOAD
Find the Weak Points Before the Blackout
A working radio is one part of a functioning household. Use the free Canadian Grid-Down Starter Kit to examine your communications, power, water, food, heat and sanitation plans.
Build a Radio Repair Kit for the Station You Own
A bag of assorted electronic parts looks reassuring until you need something that fits.
Your handheld might use an SMA antenna connector, while your mobile radio uses an SO-239 socket accepting a PL-259 plug. Another piece of equipment might use BNC. Even within connector families, mating details matter. A listing that says “SMA” does not establish compatibility.
Power connections create the same problem. Barrel plugs can differ in diameter, centre-pin size and polarity. Two plugs that appear almost identical can serve equipment requiring different voltages.
Before buying spares, record:
- Each radio’s model and permitted supply-voltage range.
- Its power connector and polarity.
- The manufacturer’s specified fuse type and rating.
- Antenna connector types on the radio, feedline and accessories.
- Battery, charger and microphone compatibility.
- The tools needed for the maintenance permitted by the manufacturer.
Photograph the connections and print the relevant manual pages. Keep them with the equipment. Include a simple connection diagram showing how the station goes together.
That information prevents expensive mistakes when fatigue, poor lighting and urgency make careful work harder. For the wider system behind the equipment, start with our Communications in Canada preparedness hub.
Troubleshoot Before Replacing Parts
When a station stops working, changing several things at once creates confusion. Work through one section at a time and record what changes.
Check the Controls and Settings
A silent receiver may have its volume turned down, squelch set too high or the wrong channel selected. A radio that receives but will not transmit may have a lock or setting engaged.
Check the display, controls and programmed channel before dismantling anything. Keep a printed operating sheet for your normal check-in procedure, including any required repeater settings and your direct station-to-station fallback.
A factory reset should not be your first troubleshooting step. It may erase the configuration you need.
Follow the Power Path
Trace the supply from its source to the radio: battery or power supply, fuse holder, connectors, cable and equipment socket.
Look for loose plugs, corrosion, damaged insulation and signs of overheating. Disconnect power before tightening connections or replacing parts.
A station that receives normally but shuts down during transmission may have a supply problem. Transmitting increases current demand; a weak battery or poor connection may become apparent only under that load.
Where it can be done safely, measure voltage at the radio’s power connection. A reading at the battery alone may miss voltage lost along the cable. Compare the result with the operating limits in your equipment manual.
Inspect the Antenna Path
Check the feedline, adapters and accessible connections. Look for cable crushed in a doorway, a loose plug or a fitting pulled sideways by unsupported coax.
A wet connector, damaged cable or corroded adapter can cause signal loss and intermittent operation. Replacing a suspect section with a tested spare can help isolate the fault.
Do not transmit into a disconnected antenna socket or an unknown faulty load. Follow the equipment manual and use suitable test equipment before returning the station to normal operation.
PREPPER RADIO CANADA
Build the Skills Behind the Equipment
Learn the fundamentals behind amateur-radio operation, antennas and station setup before you have to depend on them. Explore Prepper Radio Canada’s Canadian Amateur Radio Course for Preppers.
Stock the Correct Fuses
Fuses are inexpensive enough to keep in useful quantities, but an assortment is only valuable if it contains the correct replacements.
Match the manufacturer’s specification, including current rating, physical format and operating characteristics where specified. Keep separate, labelled supplies for the radio, amplifier, tuner and power-distribution equipment.
If a fuse blows, investigate the cause before replacing it. Check for damaged wiring, reversed polarity, shorts and equipment faults.
Never bridge a fuse holder with foil or wire. Never install a higher-rated fuse because the correct one keeps opening. A replacement that blows again is a reason to stop and investigate.
Store fuses in labelled compartments. Add a note identifying which equipment uses each type. Loose components at the bottom of a toolbox are difficult to identify when daylight is disappearing.
Carry a Complete Replacement Power Lead
For a critical radio, a tested replacement power cable is often more useful in the field than the materials needed to construct one.
A complete lead lets you substitute a known working component quickly. Repairing the damaged cable can wait until the immediate need for communications has passed.
Where practical, standardise your station’s external DC connections. That can simplify moving compatible equipment between power sources, but it does not make different voltages interchangeable.
Build leads with wire, contacts, fuse protection and connectors suited to the equipment’s requirements. Anderson Powerpole assemblies require contacts matched to the wire and correct assembly. The connector housing alone does not establish the safe capacity of the complete lead.
Label voltage and polarity clearly. Verify both with a meter before connecting equipment. The Powerwerx assembly instructions explain the importance of contact selection and proper construction.
Keep a Spare Antenna Path
A second radio offers limited redundancy if both radios depend on the same damaged feedline.
For a fixed station, consider keeping a tested coax jumper and enough suitable replacement feedline to support an alternative antenna position. Choose cable appropriate to the frequency and length of the run. Long runs of small coax can introduce substantial losses, especially at higher frequencies.
Pack only the adapters your station actually needs. Whenever possible, use a correctly terminated cable rather than a long stack of adapters. A short flexible jumper can also reduce mechanical strain on a handheld’s antenna socket.
With coax disconnected from the radio, antenna and other equipment, a multimeter can identify some basic faults: an unexpected break in the centre conductor, a broken shield connection or a short between them.
However, passing a continuity test does not prove that a cable performs properly at radio frequencies. Some antenna designs also show DC continuity between their terminals, which is why isolated cable testing and the antenna’s documentation matter.
An SWR meter or antenna analyser provides additional information when used correctly. Neither should become an excuse to ignore physical damage.
An antenna tuner cannot repair failed coax. As ARRL’s feedline guidance explains, a tuner may present an acceptable match to the transmitter while a mismatch remains farther along the system.
Pack a Backup Antenna You Have Already Used
Spare wire becomes useful when it is part of a workable plan.
For an HF station, that might mean a previously tested wire antenna, its feed arrangement, insulators, support cord and written deployment instructions. For a VHF/UHF station, it might mean a compatible portable antenna with the necessary feedline and support.
Record the intended bands, dimensions and setup method. Include any required matching equipment.
Your emergency antenna does not have to duplicate the primary installation. It does have to support a useful contact from somewhere you can deploy it safely.
Keep antennas and supports well clear of overhead electrical lines. During severe weather, an installation accessible from the ground is a more practical repair option than climbing an icy roof.
Test the backup with the people you expect to contact. Our article Your Group Is Too Small to See the Whole Threat explains why functioning links beyond your own property matter during a prolonged collapse.
PUT YOUR COMMUNICATIONS TO WORK
A Station Needs Someone at the Other End
Equipment maintenance is only part of preparedness. Qualified amateur-radio operators can explore Prepared Canadian, a private membership-based JS8Call communications network.
Choose Tools for Repairs You Can Perform
A compact radio repair kit can handle many external faults without becoming an electronics workshop.
- Digital multimeter: include sound test leads, a spare battery and printed instructions.
- Hand tools: suitable screwdrivers, insulated tools, wire cutters and strippers.
- Correct crimping equipment: match the tool and die to the contacts you carry.
- Repair materials: compatible terminals, heat-shrink tubing and suitable insulation supplies.
- Mechanical support: cable ties, labels and strain-relief materials.
- Weather protection: materials suitable for your outdoor connectors and installation.
- Lighting: a headlamp that leaves both hands available.
Practise with the meter before relying on it. Resistance and continuity checks belong on disconnected, unpowered circuits. Putting a meter configured for current measurement directly across a battery can cause a short circuit.
A soldering iron can extend your repair options if you have the skill and power to use it. For many households, tested replacement leads and correctly assembled connectors should come first.
Know When to Use the Fallback
Replacing an external fuse or damaged cable is different from opening a transceiver and attempting internal repairs.
Surface-mount components, RF alignment and intermittent circuit faults may require specialist tools and experience. Opening equipment in a cold, damp cabin can introduce further damage.
Build your plan around repairs you can perform reliably. For faults beyond that limit, have a fallback: a second radio, another operating position or a different communications method.
Your group should know what a missed check-in means. Agree beforehand on another time, another channel and another way to pass a message. Otherwise, one failed plug can become hours of uncertainty.
Test Every Spare Before Packing It
A spare becomes trustworthy after it has worked in your station.
Use the replacement power lead. Check the coax jumper. Deploy the backup antenna. Confirm that adapters mate correctly and that case lids close without crushing cables.
Then run a controlled exercise: remove one normal component from service and restore communications using only the radio repair kit.
Discovering an incompatible connector on a quiet afternoon is useful. Discovering it during the only scheduled contact window is costly.
Pack the tested kit in a sturdy case with labelled compartments. Keep it dry, inspect it periodically and replace anything you use. Include a dated inventory so missing parts are obvious.
SUPPORT INDEPENDENT CANADIAN PREPAREDNESS
Build Your Reference Library With CPN Gold
Support Canadian Preppers Network and access member resources, amateur-radio reference material and the monthly intelligence briefing.
Keep the Next Check-In Possible
After a prolonged disruption, an impressive radio collection will not help much if every set depends on the same broken cable.
Start with one practical task: identify the smallest component whose failure would silence your station. Obtain the correct replacement, test it and put it where the next operator can find it.
Then work through the rest of the system.
A modest, tested radio repair kit gives you a practical way to restore contact when stores, deliveries and service counters are no longer available.
BUILD YOUR RADIO MAINTENANCE RESERVE
Parts and Tools That Keep the Station Working
Affiliate disclosure: As an Amazon Associate, Canadian Preppers Network earns from qualifying purchases. CPN is also a VEVOR affiliate and may earn a commission from qualifying purchases through the VEVOR links below.
Start with your equipment list. Check the radio and accessory manuals, record the specifications, then compare products. These links lead to product pages; they are not compatibility recommendations for every radio or station.
Amazon.ca: Station-Specific Spares and Supplies
- Replacement radio power leads and fuses — match the radio’s connector, wire requirements, polarity and specified fuse rating.
- Powerpole connectors and compatible crimping tools — match contacts and tool to wire gauge and current requirements.
- 50-ohm coax jumpers with PL-259 connectors — buy only if these connectors suit your equipment; compare cable type and length.
- Radio antenna adapters — confirm connector gender, exact type and whether the adapter is appropriate for the frequency and equipment.
- Self-amalgamating tape for coax connections — follow the tape and connector makers’ weatherproofing instructions.
- Antenna wire and insulators — select them for a documented antenna design you have already tested.
- Heat-shrink tubing assortments — useful for suitable cable repairs when correctly sized and installed.
VEVOR: Test, Maintain and Store the Kit
- VEVOR 6000-count TRMS digital multimeter — for checking supply voltage, resistance and continuity. Read the manual and use it only within your training and the meter’s ratings.
- VEVOR 80W soldering station kit — for trained users making suitable cable or connector repairs at a stable workbench. It is mains-powered bench equipment, not a field repair tool or a way to repair internal radio circuitry.
- VEVOR 52-piece electric precision screwdriver set — useful for small screws on equipment covers and accessories where the manufacturer permits access. Do not use it to open or service sealed radio circuitry.
- VEVOR 1.58-cu.-ft. weatherproof hard case with wheels and pull handle — a storage option for a larger station-support kit. Check the usable interior dimensions, foam layout and loaded weight against your actual equipment.
Purchase order: correct fuses and a tested replacement power lead first; then the coax, adapters and hand tools your station requires. Add test and bench equipment only if you know how to use it. Choose a case that fits the complete kit without crushing cables or leaving delicate equipment loose.