Seal the leaks, improve the insulation, and make every load of fuel last longer.
A backup heater is only as useful as the house around it. In a prolonged Canadian winter outage, every draft makes stored wood, propane or generator fuel work harder. Improving the building itself can buy you more time before rooms become difficult to live in—and those improvements help every winter, whether the grid fails or not.
The practical order is find the air leaks, seal them, then improve insulation where it is thin or missing. Caulking and weatherstripping control moving air; insulation slows heat passing through the building. One does not replace the other.
Start With a Draft Hunt
Walk through the house on a cold, windy day. Check exterior doors, window frames, the attic hatch, basement windows and the point where the foundation meets the framing above it. Look around plumbing, cable and electrical penetrations through exterior walls. Make a short list of what you find before buying supplies.
Pay attention to the type of gap. A joint that never moves may need suitable caulking. A door or operable window needs weatherstripping that compresses when it closes while still allowing it to open. A worn door sweep or poorly fitting threshold may need adjustment or replacement. One roll of adhesive foam will not solve every problem because these joints move and wear differently.
Prioritise obvious leaks, but do not stop at the front door. Warm indoor air can escape through openings high in the house, including an unsealed attic hatch. Cold air can enter lower down. Fixing one draft improves comfort; addressing leaks throughout the building makes the improvement more dependable.
Give Doors and Windows a Proper Fit
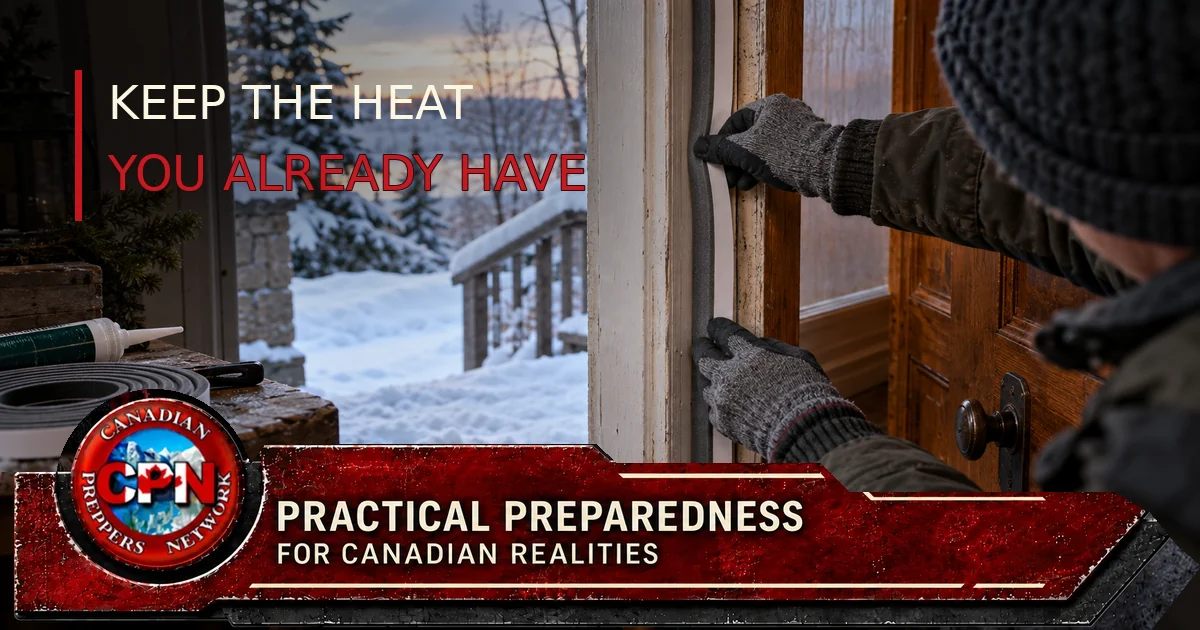
Close each exterior door and inspect the seal around its top and sides. If the weatherstripping is flattened, torn or missing, replace it with material suited to the gap and the way the door closes. Check the bottom separately. A door sweep should meet the threshold without making the door difficult to operate or latch.
Windows deserve the same inspection. Repair loose latches or hardware so the sash closes firmly. Seal fixed gaps around the frame with appropriate caulking; use suitable weatherstripping where the window opens. Interior storm-window treatments may also help an older window, but first make sure its existing seals and hardware work.
Keep required exits usable. Do not permanently seal a window you may need for emergency escape. Any temporary winter treatment should be removable without tools in an emergency.
Look Up Before Adding More Insulation
An attic with thin or uneven insulation may be an obvious project, but adding material over air leaks leaves an important problem underneath. Gaps around ceiling penetrations and the attic hatch can carry warm, moist indoor air upward. As additional insulation makes the attic colder, controlling moisture entering from the house becomes especially important.
The hatch itself needs attention. Seal the gap between its frame and the ceiling, add weatherstripping where the panel closes, ensure it closes snugly, and insulate the panel appropriately. A thick layer of attic insulation does little for a hatch left as a loose, bare panel.
Inspect before disturbing existing material. Older attics can contain hazards, and chimneys, lights and other heat-producing components need appropriate clearances. Keep attic ventilation paths open. If you cannot identify the existing insulation or safely work around those components, have the attic assessed before starting.
Check the Basement and Rim Joists
A cold basement affects more than the room below your feet. Drafts near the foundation, basement windows and rim-joist area can make the floor above uncomfortable and leave plumbing in colder conditions during an outage.
Inspect the perimeter for visible gaps, dampness and deteriorated material. Address water entry before covering a basement wall with insulation; trapping moisture behind a new finish can create another problem. The right basement insulation method depends on the foundation, drainage and existing construction.
If a major basement project is beyond this season’s budget, document what needs professional work and deal with accessible, appropriate air leaks first. A list made now is more useful than discovering the weak points by flashlight after the furnace stops.
Do Not Seal Away Safe Air
A tighter house still needs ventilation. Fuel-burning appliances also need adequate combustion air and a clear exhaust path. Poor air supply or competing exhaust fans can contribute to backdrafting, drawing combustion gases into living space. Do not block a furnace intake, appliance vent, chimney opening in use, or ventilation system to stop a draft.
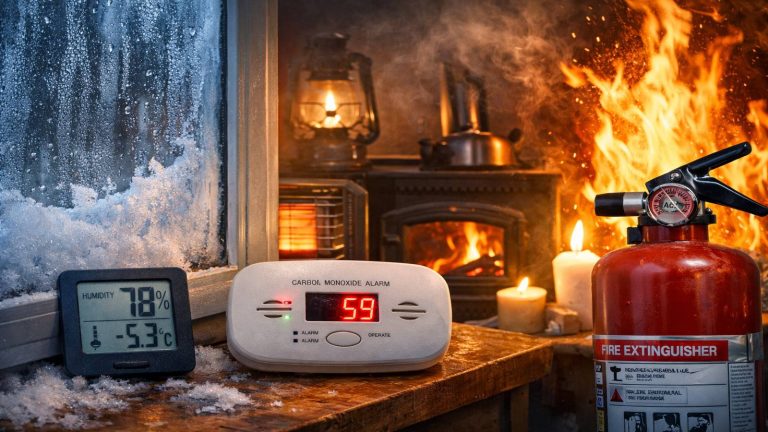
If the house has a wood stove, fireplace, gas furnace or other fuel-burning equipment, include its venting in the assessment—especially before extensive air sealing. Keep working carbon monoxide and smoke alarms in the plan. If a carbon monoxide alarm sounds, leave the building and seek emergency help. The goal is a house that retains heat and remains safe to occupy.
Work in an Order That Saves Money and Fuel
You do not need to renovate the whole house at once. Use this sequence to turn a vague “winterise the house” project into manageable work:
- Locate and record drafts. Check doors, windows, the attic hatch, basement perimeter and service penetrations.
- Repair moving seals. Adjust latches and thresholds, then replace damaged weatherstripping and door sweeps.
- Seal suitable fixed gaps. Choose materials appropriate to the surface and location; leave vents and appliance air supplies clear.
- Assess attic insulation. Address air leakage and safety issues before adding insulation.
- Plan larger work. Get sound advice on basement, wall or complex attic upgrades where moisture and construction details matter.
- Recheck the house in cold weather. Confirm doors still latch, windows remain usable, ventilation works and the drafts you targeted have improved.
For a prepper, the payoff is bigger than a lower heating bill. A house that loses heat more slowly gives you more useful time to organise a warm room, protect vulnerable plumbing and decide whether you can stay. It also reduces the rate at which limited fuel must be spent. Your backup heat plan should begin with the building that has to hold that heat.
Where is the most stubborn draft in your house—and have you found its actual source?
Related Reading
- Shelter and Heat in Canada: the preparedness hub
- Grid-Down Heating Options Compared
- Protect Your Pipes When the Power Fails
Technical References
For renovation details, consult Natural Resources Canada’s air-leakage guidance, attic guidance and combustion-air and ventilation guidance. The correct treatment depends on your house’s construction and heating equipment.