Cheese has been a staple food for centuries, valued for its rich flavor and long shelf life when properly preserved. For preppers, homesteaders, and cheese lovers, waxing cheese is an excellent method to extend its longevity without refrigeration. This guide will walk you through the process of waxing cheese for storage, ensuring you have a reliable source of dairy in any situation.
Why Wax Cheese?
Waxing cheese provides a protective barrier that helps prevent mold, bacteria, and moisture loss. This technique is especially useful for long-term storage and is widely used by cheesemakers and preppers alike. Properly waxed cheese can last months or even years when stored correctly.
Choosing the Right Cheese for Waxing
Not all cheeses are ideal for waxing. The best choices include:
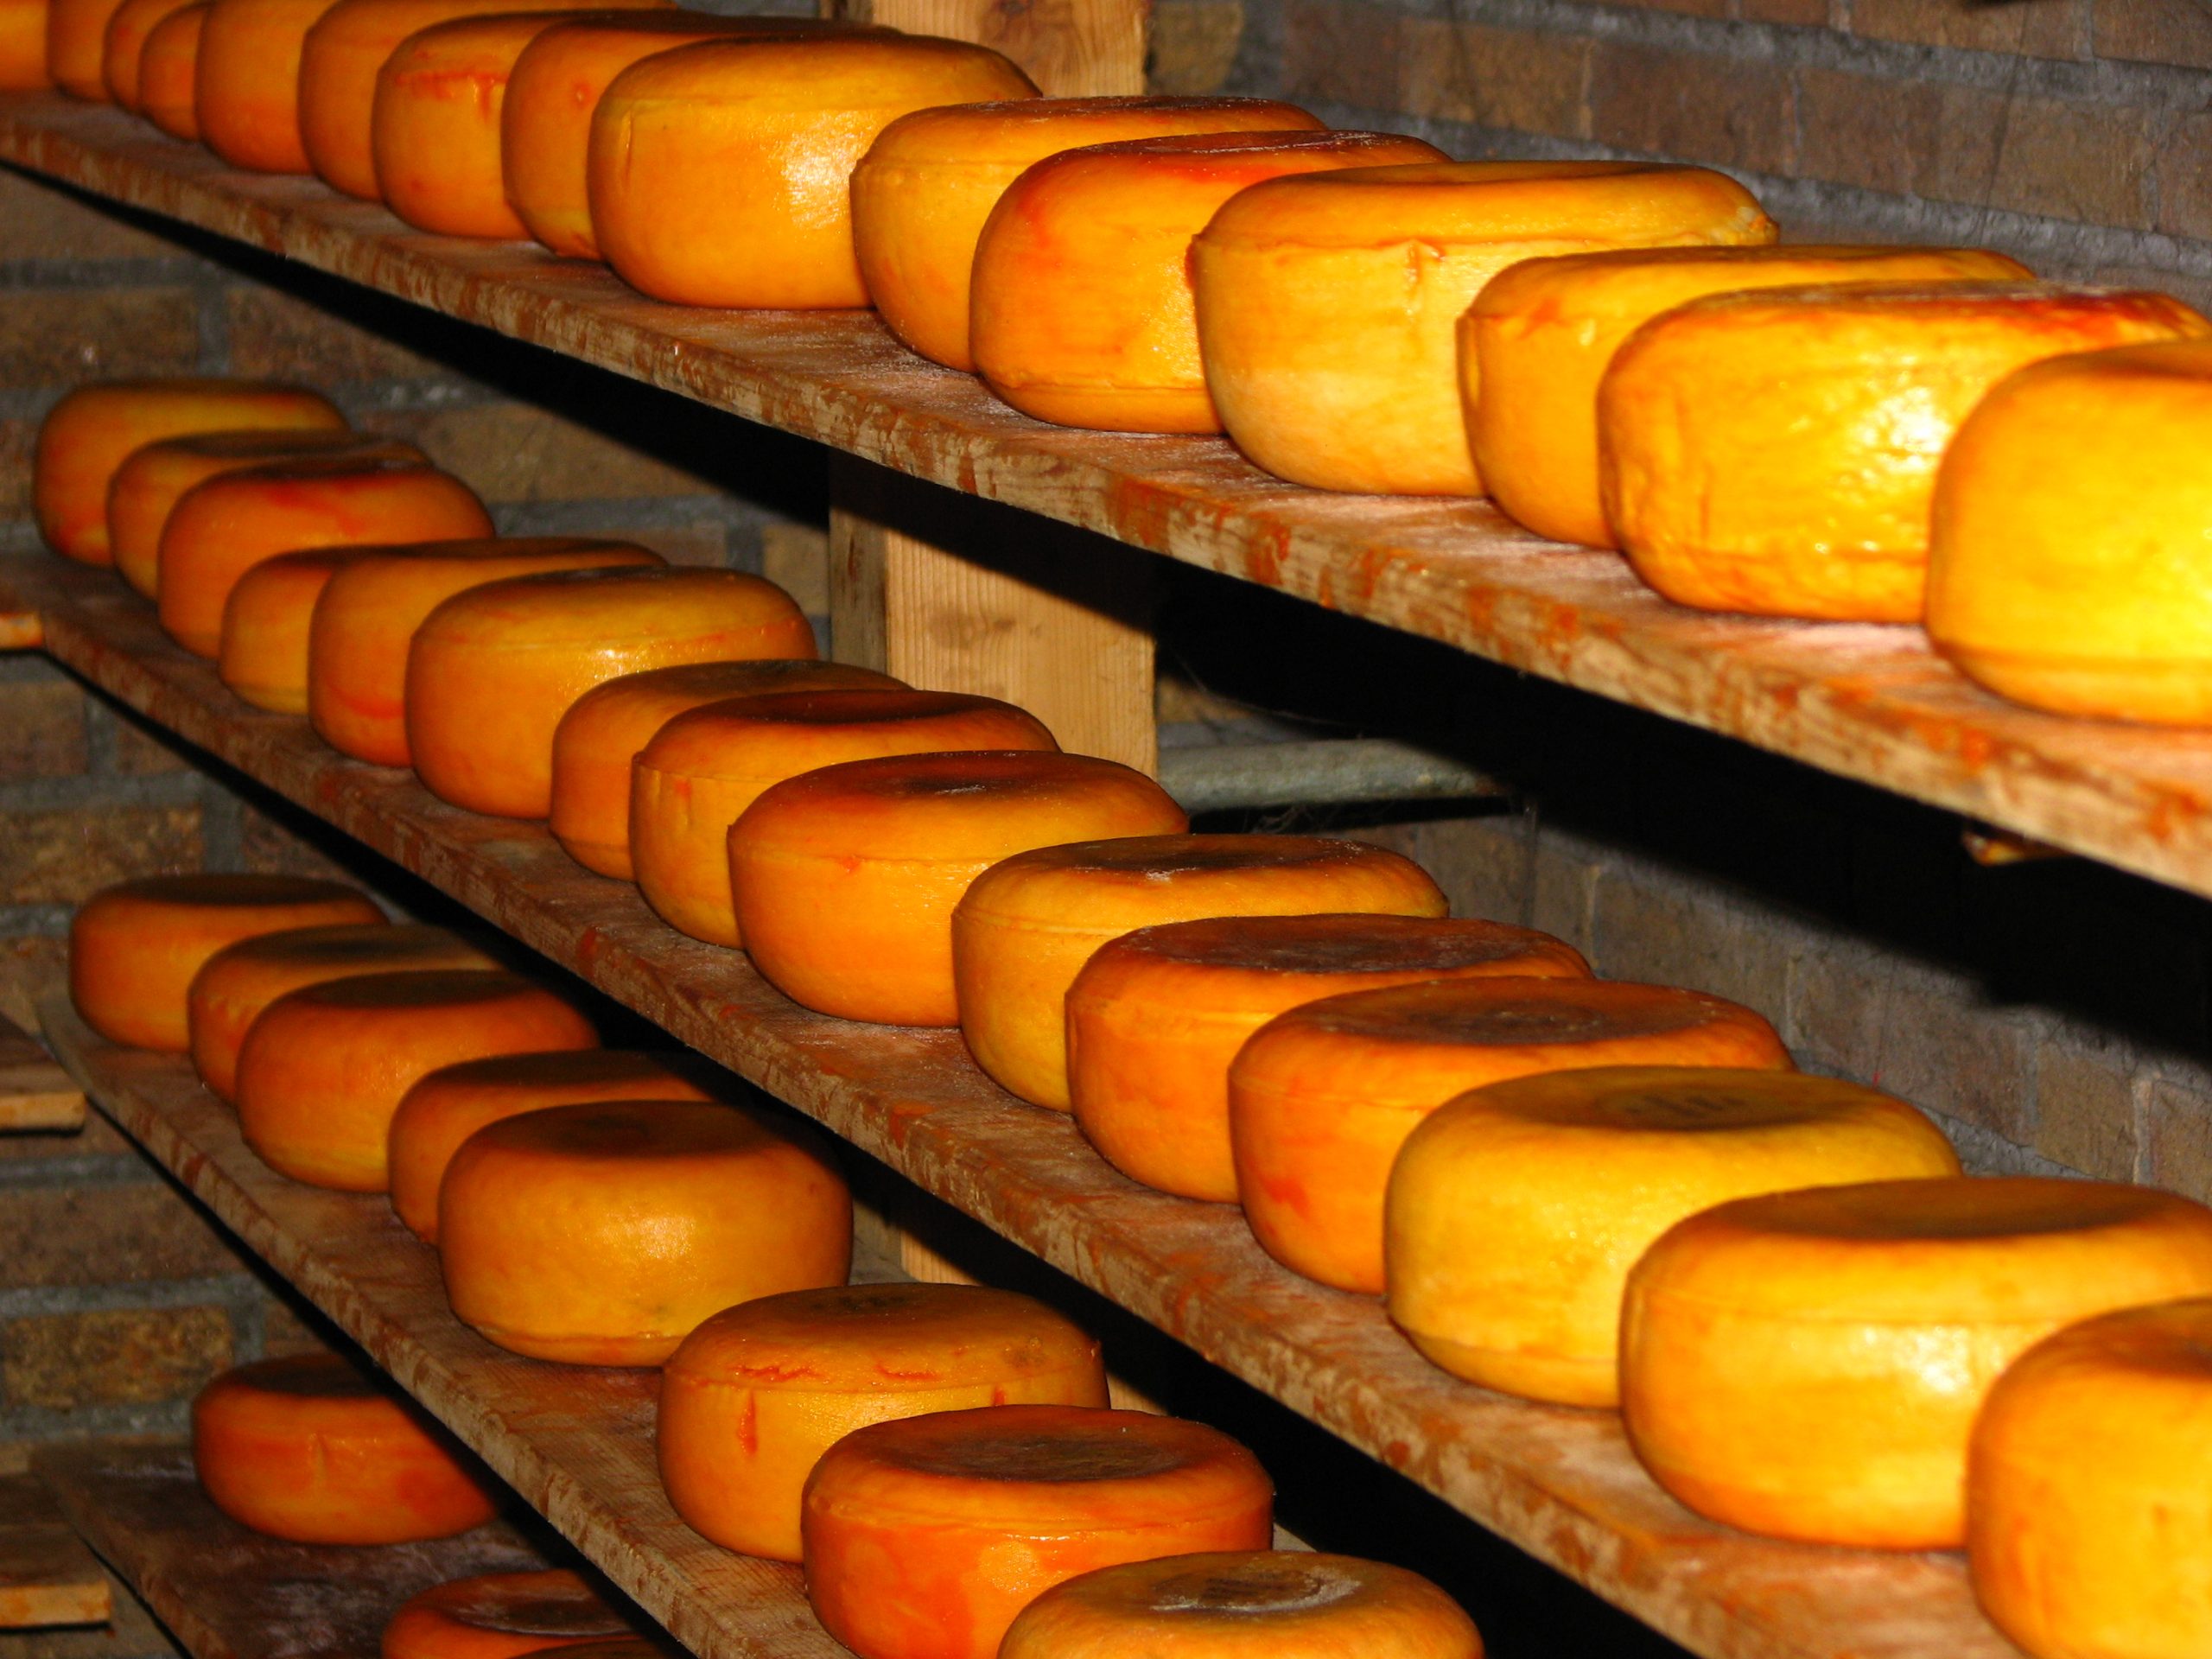
- Hard and semi-hard cheeses such as Cheddar, Gouda, Parmesan, and Colby.
- Aged cheeses that have a low moisture content, reducing the risk of spoilage.
- Avoid soft cheeses like Brie or fresh Mozzarella, as they contain too much moisture and can lead to spoilage inside the wax.
Materials Needed
To wax cheese successfully, you’ll need:
- Food-grade cheese wax (available in a variety of colors)
- A double boiler or dedicated wax-melting pot
- Natural bristle brush or tongs
- Clean, dry cheese blocks
- Parchment paper or a drying rack
- Labels for identification
Step-by-Step Guide to Waxing Cheese
- Prepare the Cheese
- Allow the cheese to air dry for 24-48 hours at room temperature to form a natural rind. This helps the wax adhere better and prevents mold growth.
- Melt the Wax
- Use a double boiler to slowly melt the cheese wax to approximately 180°F (82°C). Avoid direct heat, as wax is flammable.
- Apply the First Coat
- Hold the cheese with tongs or a gloved hand and dip it halfway into the melted wax.
- Allow the wax to harden before dipping the other half.
- Alternatively, use a brush to evenly coat the cheese with wax.
- Apply a Second Coat
- Once the first layer is fully dry, repeat the process to ensure complete coverage.
- The cheese should have a thick, smooth, and even coating with no exposed areas.
- Label and Store the Cheese
- Label each waxed cheese with the date and type of cheese.
- Store in a cool, dark place with a stable temperature (ideally 50-55°F or 10-13°C).
- Periodically inspect for cracks or damage in the wax and reapply if needed.
Tips for Success
- Rotate stored cheeses every few months to prevent uneven aging.
- If mold develops under the wax, scrape it off and re-wax the cheese.
- Use different wax colors for different cheese types to easily identify them in storage.
Final Thoughts
Waxing cheese is a time-tested preservation method that ensures a steady food supply in uncertain times. Whether you’re preparing for an emergency or simply want to enjoy aged cheese without refrigeration, this skill is a valuable addition to any prepper’s toolkit.
By following these steps, you’ll have delicious, long-lasting cheese ready whenever you need it. Happy cheese waxing!