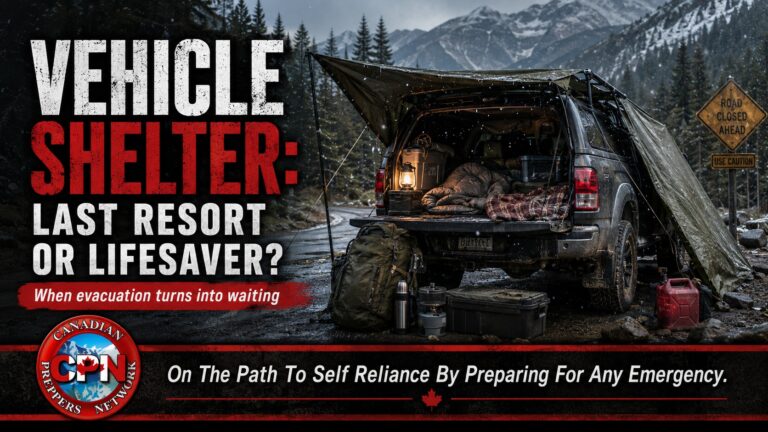
What to do in the first 72 hours if your home becomes unlivable
Most preparedness discussions assume you will shelter inside your home during an emergency. Unfortunately, disasters do not always cooperate with that plan. A house fire, severe storm damage, flooding, or a mandatory evacuation can force families out of their homes with little warning.
When that happens, your immediate priority becomes creating temporary shelter that protects you from the elements while you assess the situation. In Canada, exposure to wind and cold temperatures can become dangerous very quickly. Wind chill and moisture accelerate heat loss, which means shelter often becomes the first survival priority.
A prepared household should be capable of establishing a functional emergency shelter in under 30 minutes using equipment stored in the home or in a vehicle emergency kit.
The 30-Minute Shelter Kit
Every prepper household should maintain a basic shelter kit capable of supporting the family for at least the first 72 hours. These kits are often stored in a garage, basement, or vehicle so they can be accessed quickly.
One of the most versatile pieces of equipment for rapid shelter construction is a heavy-duty tarp. A durable option like the Free Soldier waterproof tarp available on Amazon
https://www.amazon.ca/dp/B07V3KX7ZT?tag=canadianprep-20
can be configured into lean-tos, rain covers, or windbreaks within minutes.
Tarps are even more effective when paired with strong cordage. Many preppers rely on standard 550 paracord for shelter building and general utility. A good example is the Tough-Grid 550 paracord spool available here:
https://www.amazon.ca/dp/B01FQZC6BG?tag=canadianprep-20
With just a tarp and cordage you can construct multiple shelter styles quickly, making these two items some of the most valuable tools in any preparedness kit.
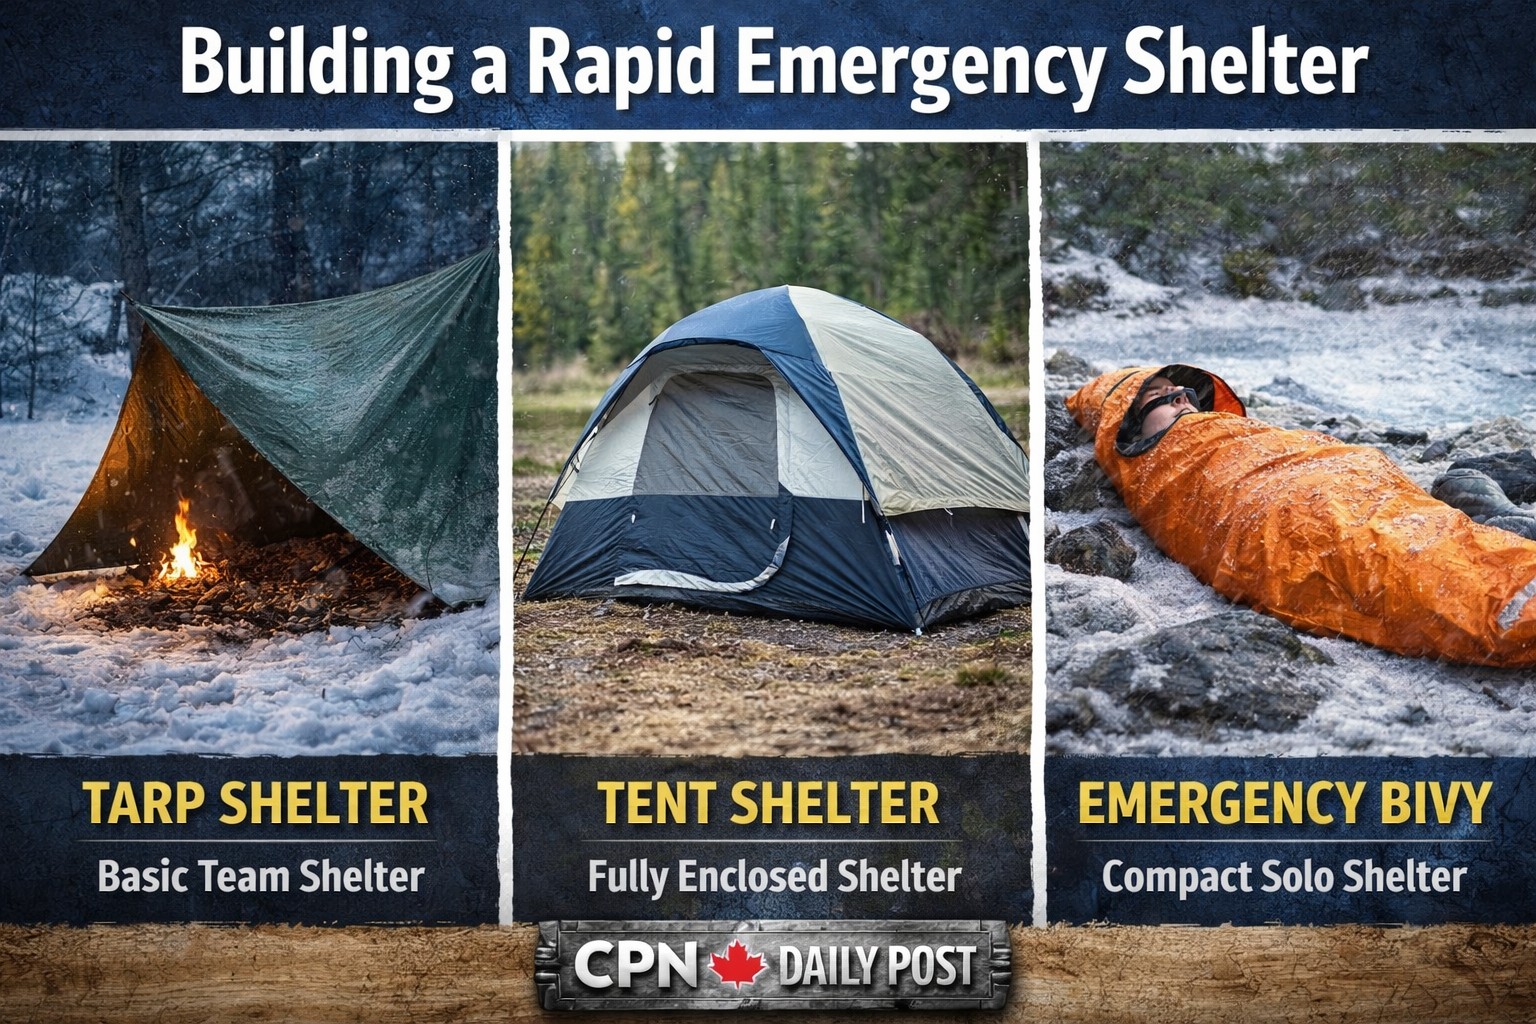
Rapid Tarp Shelter Designs
Tarps allow several quick shelter configurations depending on available anchor points.
A lean-to shelter is one of the fastest setups. The tarp is tied between trees or posts and angled down toward the ground, creating a sloped roof that blocks wind and precipitation. If conditions allow, a small fire positioned safely in front of the shelter opening can provide additional warmth.
Another option is the A-frame shelter, where the tarp is draped over a ridgeline and secured on both sides. This design provides excellent protection from rain or snowfall and works well as a sleeping shelter.
Using multiple tarps together can create a larger covered area that allows for cooking, gear storage, or additional sleeping space.
Tents Provide the Fastest Enclosed Shelter
While tarps offer flexibility, tents provide the fastest way to establish a fully enclosed living space.
A simple and reliable option like the Coleman Sundome camping tent
https://www.amazon.ca/dp/B004J2GUOU?tag=canadianprep-20
can be set up in just a few minutes and provides immediate protection from wind and precipitation.
Even lightweight camping tents trap body heat, making them significantly warmer than sleeping in the open. Many preparedness-minded families keep one tent stored at home and another in a vehicle kit in case evacuation becomes necessary.
Ground Insulation: A Critical Shelter Component
One of the most overlooked aspects of emergency shelter construction is ground insulation. Cold ground pulls heat away from the body rapidly, even when air temperatures are moderate.
Sleeping pads create an insulating barrier between your body and the ground. A popular option among outdoor enthusiasts is the Therm-a-Rest Z Lite Sol sleeping pad
https://www.amazon.ca/dp/B00453NA1E?tag=canadianprep-20
These pads are lightweight, durable, and provide excellent insulation during cold-weather conditions.
If sleeping pads are unavailable, improvised insulation can be created using pine branches, leaves, cardboard, or spare clothing.
Emergency Thermal Blankets
Thermal blankets are another compact item that can dramatically improve shelter performance.
Reflective blankets such as the Swiss Safe emergency mylar blanket set
https://www.amazon.ca/dp/B01H1NC1LI?tag=canadianprep-20
reflect radiant body heat back toward the user and can also be used to line the inside of shelters to improve heat retention.
Because they are inexpensive and extremely compact, many experienced preppers store multiple thermal blankets in bug-out bags and vehicle kits.
Choosing a Shelter Location
Where you build your shelter matters as much as how you build it. Whenever possible, select areas that provide natural protection from wind and precipitation.
Tree cover can reduce wind exposure while elevated ground prevents water accumulation during rainfall. Hillsides, dense vegetation, and natural terrain features can all serve as effective windbreaks.
Avoid low areas where cold air collects and never build shelters beneath damaged trees or unstable structures.
Shelter Comes Before Almost Everything
Preparedness training often references the Rule of Threes: three minutes without air, three hours without shelter in extreme conditions, three days without water, and three weeks without food.
Shelter ranks near the top because exposure to the elements can quickly become life-threatening.
Preparedness is about layering skills and systems together. Producing your own food, for example, is covered in our guide to Garden Planning for Food Security
https://canadianpreppersnetwork.com/garden-planning-for-food-security/
Maintaining communications during disasters is equally important, which is why we recommend learning about Amateur Radio Emergency Nets in Canada
https://canadianpreppersnetwork.com/amateur-radio-emergency-nets-in-canada/
And for long-term resilience, every prepper should understand natural medicine resources such as the plants discussed in Top 5 Medicinal Plants Every Canadian Prepper Should Know
https://canadianpreppersnetwork.com/top-5-medicinal-plants-every-canadian-prepper-should-know/
But when a disaster suddenly removes access to your home, the first survival step remains simple:
Build shelter.