When people build medical kits for emergencies, they usually focus on bandages, antiseptics, and medications. One of the most useful—and most overlooked—medical supplies is sterile saline solution.
Saline is simply salt dissolved in clean water, but when properly sterilized it becomes an incredibly versatile medical tool. It can be used to flush wounds, rinse eyes, irrigate infections, clean medical equipment, and even hydrate dressings. In a prolonged emergency where pharmacies and hospitals may be unavailable, having a supply of sterile saline on hand could make routine injuries much easier to manage.
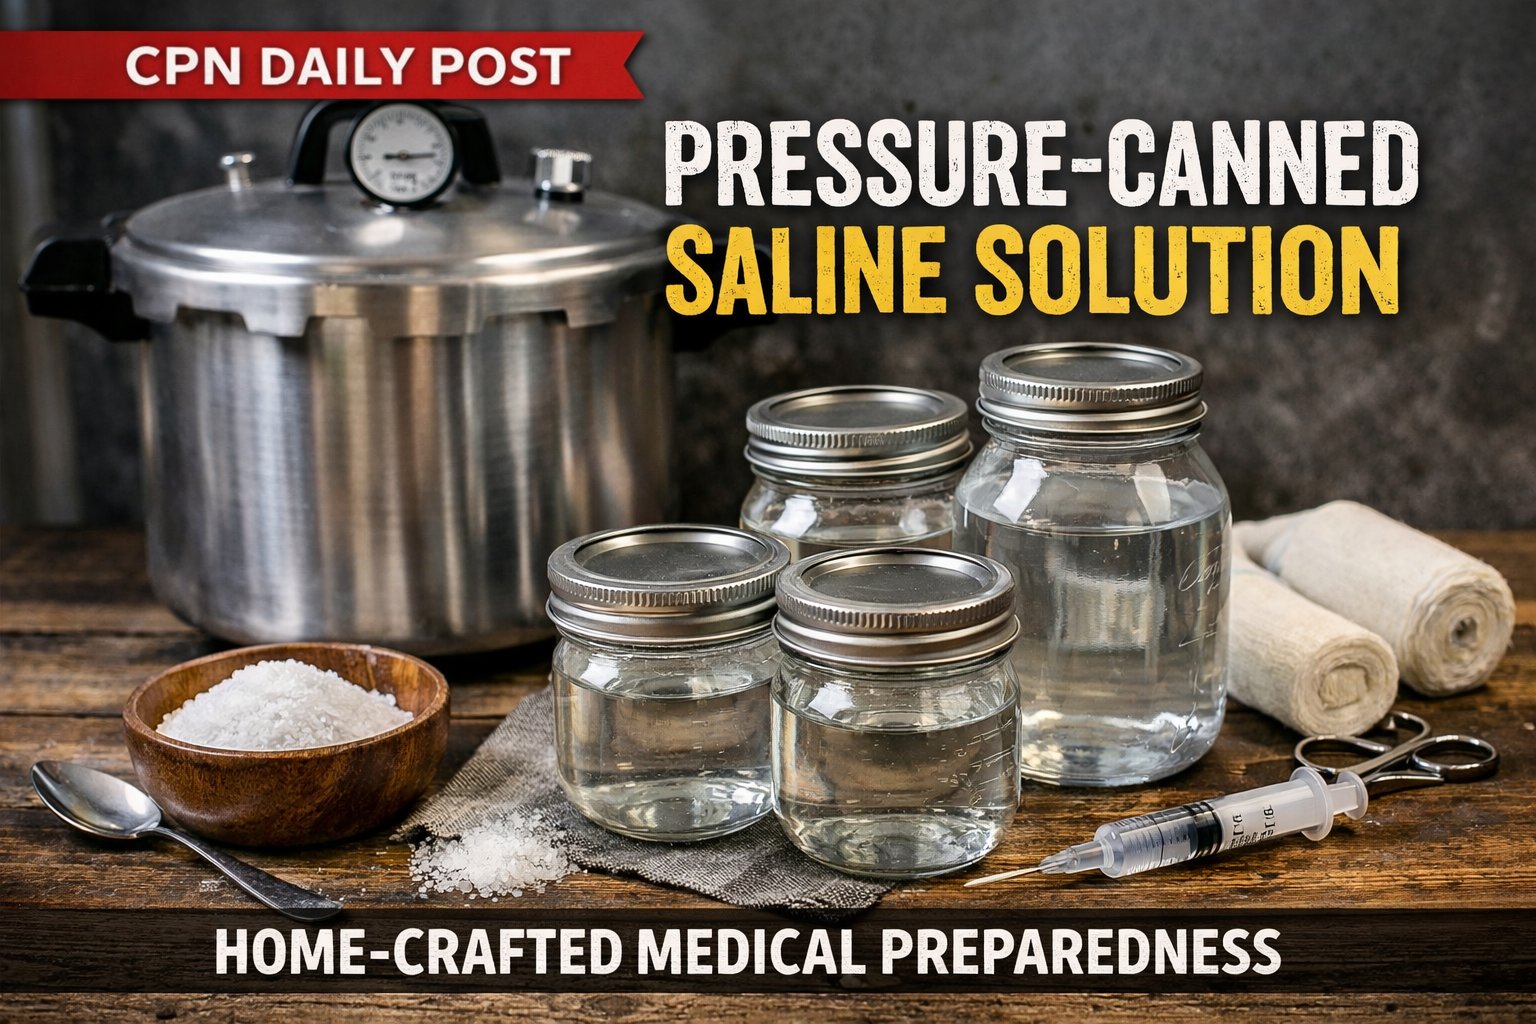
For Canadian preppers building a resilient home medical system, pressure-canning saline solution is a simple and reliable way to create a long-term supply.
What Is Saline Solution?
Medical saline is typically a 0.9% sodium chloride solution, often called normal saline. This concentration closely matches the salt content of human body fluids, making it safe for wound irrigation and other medical uses.
The basic ratio is simple:
9 grams of salt per 1 litre of water
That works out to roughly:
| Water | Salt |
|---|---|
| 1 litre | 9 grams |
| 500 ml | 4.5 grams |
| 250 ml | 2.25 grams |
Use pure non-iodized salt with no additives. Iodine and anti-caking agents can irritate wounds.
A simple option many preppers keep in their pantry is plain canning salt such as https://www.amazon.ca/dp/B00HV1O4E6?tag=canadianprep-20, which dissolves cleanly and contains no additives.
Why Preppers Should Store Saline
In normal times saline is cheap and widely available. During disasters, however, sterile irrigation fluids are often one of the first supplies to disappear from hospitals and clinics.
Stored saline has dozens of practical uses:
Wound irrigation is the most common. Flushing debris and bacteria from an injury dramatically lowers infection risk.
Eye washing is another important use. Dust, chemicals, and debris can cause severe eye irritation that clean saline can quickly relieve.
Saline is also useful for cleaning medical instruments, hydrating gauze for dressing changes, and rinsing infections or abscesses.
Many preppers store commercial sterile saline bottles such as https://www.amazon.ca/dp/B01M6Y2QY4?tag=canadianprep-20, but those bottles are expensive and have limited shelf life. Pressure-canning allows you to produce a much larger supply at very low cost.
The Importance of Sterility
Plain saltwater is easy to make, but sterile saline requires careful preparation. Bacteria introduced into wounds can cause serious infections.
Pressure canning solves this problem. The combination of heat and pressure destroys microorganisms and produces a shelf-stable sterile product when jars remain sealed.
A reliable pressure canner such as the Presto 23-Quart Pressure Canner – https://www.amazon.ca/dp/B0000BYCFU?tag=canadianprep-20 is one of the most useful tools a prepper kitchen can have. Beyond medical supplies, it allows safe preservation of meats, soups, broths, and low-acid foods.
Equipment Needed
Preparing sterile saline requires only a few simple tools.
You will need a pressure canner, clean canning jars, new lids, pure salt, and distilled or properly filtered water.
If distilled water is unavailable, many preppers run water through a reliable gravity filter such as the LifeStraw Family Gravity Water Filter – https://www.amazon.ca/dp/B006QF3TW4?tag=canadianprep-20 before boiling it.
Smaller jars are ideal for medical use. 250 ml or 500 ml jars prevent contamination from repeated opening.
Step-by-Step Saline Preparation
Begin by heating the required amount of water in a clean pot. Add the correct amount of salt and stir until fully dissolved.
Bring the mixture to a gentle boil for several minutes to ensure complete dissolution and preliminary sterilization.
Meanwhile, wash your jars thoroughly and keep them hot until filling. Pour the hot saline into jars leaving about one inch of headspace.
Wipe jar rims carefully, apply lids, and tighten rings finger-tight.
Place jars in the pressure canner and process them at 10 pounds of pressure for 20 minutes. This step is what creates a sterile, shelf-stable solution.
Allow the canner to cool naturally before removing jars.
Once cooled, confirm each lid has sealed properly. Any jar that did not seal should be refrigerated and used soon.
Properly sealed jars can be stored in a cool, dark location with your other preparedness supplies.
Shelf Life and Storage
Pressure-canned saline can last several years if jars remain sealed and uncontaminated.
For best results:
Store jars in a cool, dark location
Inspect lids before use
Discard any jar that appears cloudy or has a broken seal
Once opened, saline should be treated like any sterile fluid and used promptly.
Many preppers integrate these jars into their broader medical storage alongside trauma kits, bandaging supplies, and reference materials such as the Where There Is No Doctor medical handbook – https://www.amazon.ca/dp/0942364155?tag=canadianprep-20, which remains one of the best field medical guides available.
A Practical Addition to Your Medical Preparedness
Preparedness often focuses on dramatic scenarios—major injuries, trauma kits, and emergency surgeries. In reality, most medical problems during disasters are far more mundane: contaminated wounds, eye irritations, infected cuts, and dirty equipment.
A simple supply of sterile saline solves many of these problems quickly and safely.
Pressure-canning a few dozen jars takes only an afternoon, costs very little, and provides a practical resource that could prove invaluable if medical services become limited.
Preparedness is rarely about exotic gear. More often, it is about quietly building reliable supplies of the basic tools that keep people healthy when help is far away.